
How to change the Windows lock screen
Securing your computer is good for protecting your data and privacy. One of the ways to do so in Windows is by utilizing a login or lock screen. This feature requires users to input a password on startup, or when resuming from a screensaver or sleep mode (the latter two are optional).
Some users prefer to have a specific image on their lock screen instead of the one displayed by default. To change the lock screen image or select a slideshow of pictures (Windows 10 and Windows 11 only), choose your version of Windows from the following list.
Windows 11
- Press the Windows key, type lock screen settings, and press Enter.
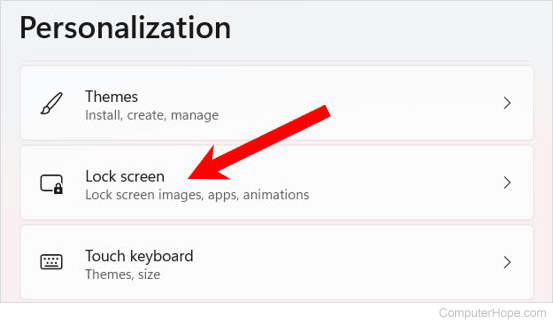
Alternatively, press Windows key+I to open Settings, select Personalization in the left navigation menu, scroll down on the right side, and click the Lock screen option.
- To the right of Personalize your lock screen, click the drop-down menu.
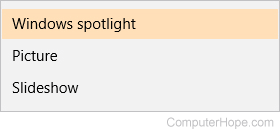
- In the drop-down menu, select Picture or Slideshow.
If you select picture:
- Choose one of the recent images shown, or click the Browse photos button.
- Navigate to the location of the picture file, select the desired picture, then click the
 button.
If you chose slideshow:
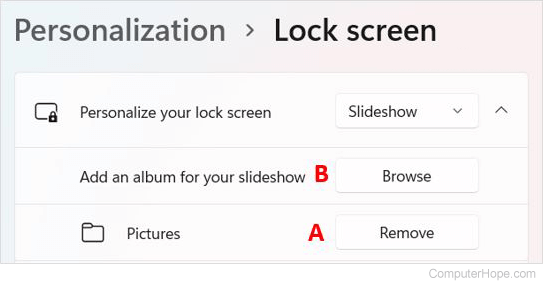
- One or more folders are listed as the location of pictures to generate the slideshow. If you don't want to use a folder, click the Remove button (A) next to the folder you want to remove.
To choose a different folder, click the Browse button (B) next to Add an album for your slideshow.
- Navigate to and select the folder containing your pictures, and click the
 button.
Windows 10
- Press the Windows key, type Themes and related settings, and press Enter. Or, press Windows key+I to open Settings, and click Personalization.
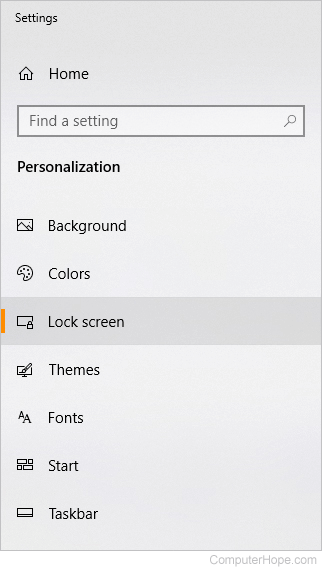
- On the left side of the Settings window, click the Lock screen option.
- In the middle of the screen, under Background, click the
 on the right side of the box.
 - A drop-down menu like the one below should appear. Choose Picture or Slideshow.
If you chose picture:
- Choose one of the suggested images, or click the
 button.
 - Navigate to and select the desired picture, and click the button.
If you chose slideshow:
- Choose one of the folders presented to you, or click the
 button next to Add a folder.
 - Navigate to and select the folder containing your pictures, then click the button.
Windows 8 and 8.1
- Press the Windows key, type Change PC settings, and press Enter.
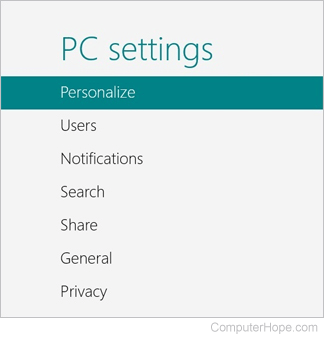
- In the PC settings menu, on the left, select Personalize.
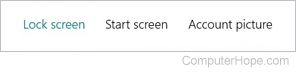
- To the right of the PC settings section, click the Lock Screen option.
- Choose one of the images suggested, or click the button located in the lower-right corner.
- Navigate to and select the desired picture file, and click the button.
Windows 7
To change the Windows login screen in Windows 7, you must be comfortable with editing the Windows registry. We also highly recommend anyone new to the registry become familiar with the Windows registry basics. Before making any changes, we recommend you back up the registry.
The lock screen image for Windows 7 may not exceed 256 kB.
- Press the Windows key, type regedit, and press Enter.
- In the Registry Editor, navigate to HKEY_LOCAL_MACHINE\SOFTWARE\Microsoft\Windows\CurrentVersion\Authentication\LogonUI\Background, as shown in the screenshot, highlighted in blue.
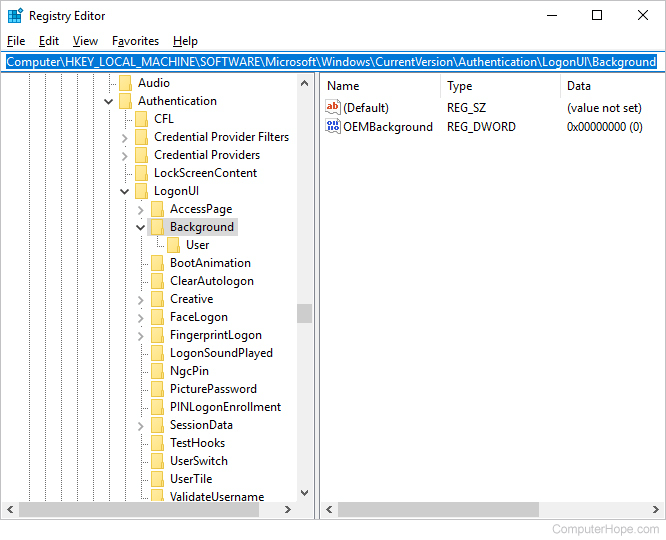
- On the right side of the screen, double click OEMBackground.
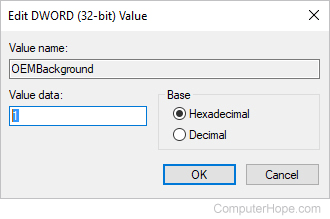
- Set the value to 1, then click the
 button.
- Close the Registry Editor window.
- Press the Windows key+E to open Windows Explorer.
- Click your primary drive, then the Windows folder, then the System32 folder.
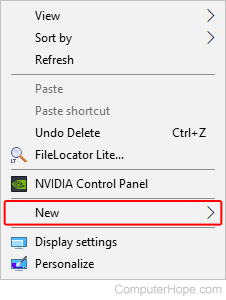
- Right-click in the blank area to the right of the file list and select New in the pop-up menu.
- Select the
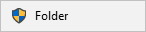 option.
 - Set the name of the newly created folder to be info.
- Open the info folder and create another new folder inside it, setting the name of that new folder to be backgrounds.
- Locate the image you want to put on your lock screen.
- Save that image as backgroundDefault.jpg and then move it into the backgrounds folder you created in step 11 above.