
How to remove a computer hard drive
Removing the hard drive from the computer is a relatively straight forward process. However, before you start working inside of the computer, you must be aware of ESD (electrostatic discharge) as it could damage hardware components. To reduce, or eliminate, this electrical charge risk, wear an anti-static wrist strap. In the following sections, you'll see the steps required for removing most computer hard drives.
Open your machine
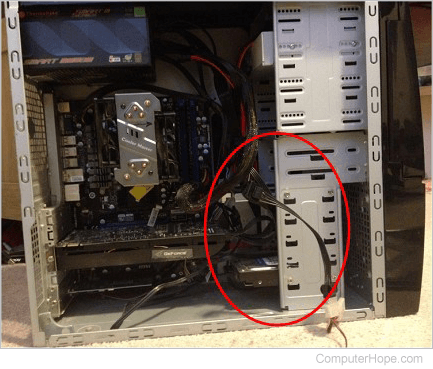
First, you must remove the side panel from the computer case. The side panel is usually held in place by several screws, or may be held in place with a bracket or clamp. Remove the fasteners securing the side panel, and carefully pull it off. Once the panel is removed, you can see the inside of the computer. The next step is to locate the hard drive inside the case. In most computer cases, it's located towards the front at the bottom of the case, as indicated in the image below.
Hard drive removal
Once you've found the hard drive, disconnect the power supply cable from the back of it. Also, disconnect the IDE (integrated drive electronics) or SATA (Serial AT Attachment) cable, which is next to the power connector. The hard drive is secured in place by two to four screws, as is shown in the picture below. Otherwise, it will be held by a mounting bracket with a clamp. With the securing mechanism loosened, gently remove the hard drive.
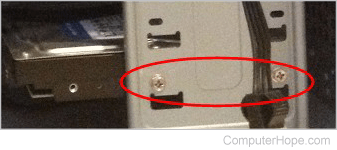
If there are more than two screws, the other side panel needs to be removed, as well.