
How to add or remove a header or footer in Word

In Microsoft Word 2007 and later versions, you can insert a header or footer into your documents. These elements stay at the top or bottom of each page, and are edited separately from the document body. They may include graphics (like a company logo), the author's name or contact information, the page number, or the date the document was created or published. Headers appear at the top of the page, footers appear at the bottom, and they can both be used on the same page. After adding a header or footer, they can be modified or removed as needed.
How to add a header or footer
To add a header or footer, select your version of Microsoft Word below and follow the steps.
Word Online (web version)
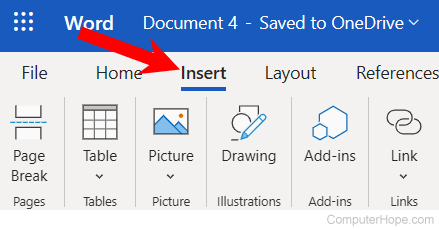
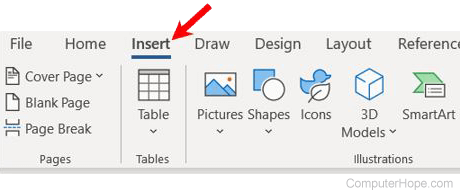
- In the Ribbon, click the Insert tab.
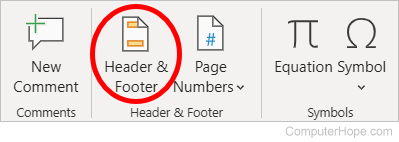
- In the Header & Footer section, click the Header & Footer option.
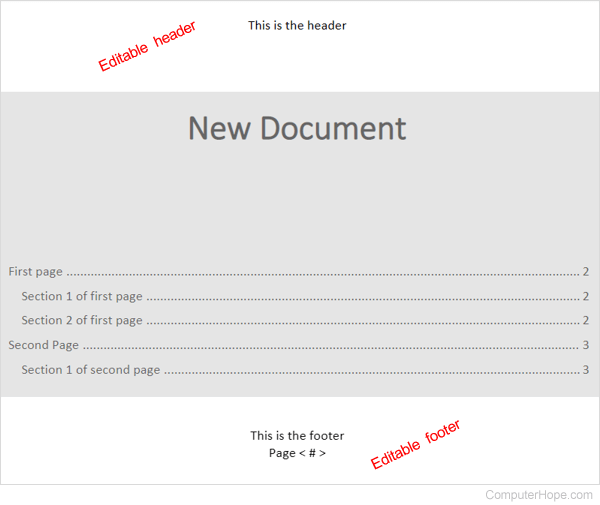
- The header and footer sections are displayed for editing. Add the desired text or image in the header (at the top) or the footer (at the bottom).
- When you are done adding content to the header and footer, press the Esc key to exit the editable header and footer.
- To make additional edits to the header or footer, repeat steps 1 and 2 above, and make your desired updates.
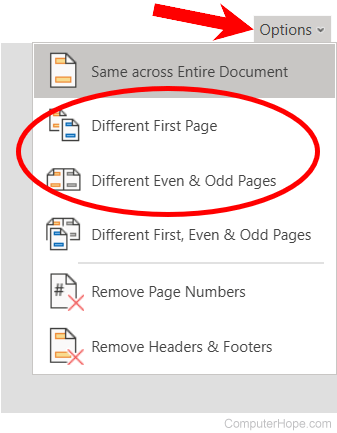
By default, the header and footer appears in every page of your online document. If you want the header and footer of the first page to look different, while in edit mode, on the right side of the header section, click Options. In the drop-down menu, select Different First Page. If you want a different header and footer on even versus odd pages, select the Different Even & Odd Pages option.
Word 2007 to Word 365
- In the Ribbon, click the Insert tab.
- In the Header & Footer section, click Header or Footer.

- Choose one of the built-in templates. The selected template is added to your document.
- Place your cursor in the header or footer, and add the desired text.
- When you're done editing, click Close Header and Footer in the Ribbon.

- To make additional edits to your header or footer, double-click it to open the Header & Footer editing tool.
For instance, double-clicking the header should appear similar to the example shown below.
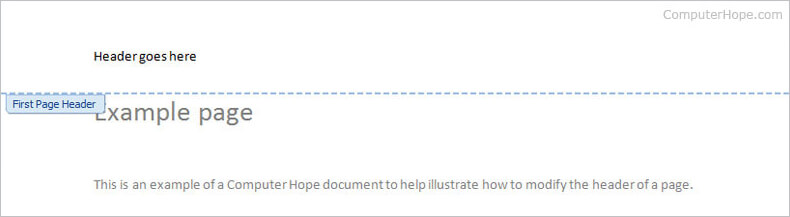
With your cursor in the header section, type the text you want to appear in your header.
By default, the header appear on every page of your document. If you want the header of the first page to look different, check Different First Page in the Ribbon at the top of program window. Also, in the Header & Footer section of the Ribbon, you can adjust the header size, and choose if you want it to appear differently on odd and even pages.
When you are done modifying the header, double-click the body of the document, or click the Close Header and Footer button in the Ribbon.
How to remove a header or footer
To remove a header or footer, select your version of Microsoft Word below and follow the steps.
Word Online (web version)
- In the Ribbon, click the Insert tab.
- In the Header & Footer section, click the Header & Footer option.
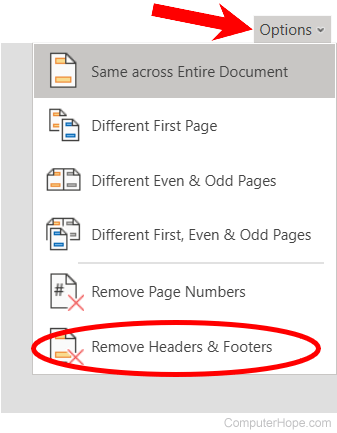
- The header and footer sections are displayed for editing. On the right side of the header section, click Options and select Remove Headers & Footer in the drop-down menu.
Word 2007 to Word 365
- In the Ribbon, click the Insert tab.
- In the Header & Footer section, click Header or Footer.
- Select Remove Header or Remove Footer.