
How to share a folder or directory in Windows
Updated: 09/03/2019 by Computer Hope
Sharing a folder or directory in Windows is a great way to allow other users on other computers to access specific files on your computer. Sharing a folder or directory can be done in Windows or through the Windows command line. Select a link below for the method you want to use to share a folder or directory on your computer.
Creating a network share in Windows
Users can share any of their folders or drives by following the steps below.
Note
Microsoft Windows does not allow for a single file to be shared. The folder or drive that the file is located in must be shared.
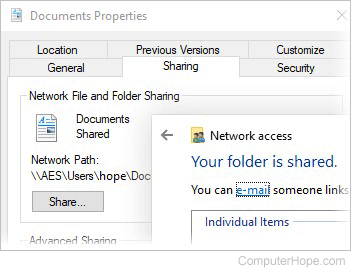
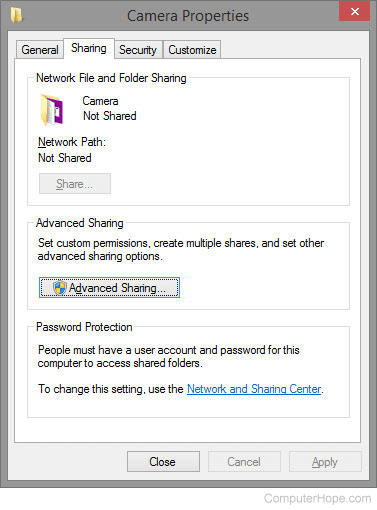
- Right-click the directory or drive you want to share, and select Properties.
- In the Properties window, click the Sharing tab.
- Click the Advanced Sharing button or select the option to share the folder, then specify the name for the share. The name is what is used with the computer name to access the share. If you want the share to be accessible to as many users as possible, make sure not to have spaces in the share name.
Sharing a folder through the Windows command line
Microsoft Windows users can also use the net share command to share a directory or drive on their computer by following the steps below.
- Open the Windows command line.
- At the command prompt, type a command similar to the example below. In the example, "hope" is the share name, and "c:\hope\files" is the directory we want to share. Realize that this example would provide full access to the folder.
net share hope=c:\hope\files