
How to view or change the screen resolution of a monitor
Whether it's out of curiosity, to improve video performance, or another reason, you may want to view or change a screen's resolution. To proceed, select your operating system from the list below and follow the instructions.
Windows 11

- Press the Windows key, type Settings, and press Enter.
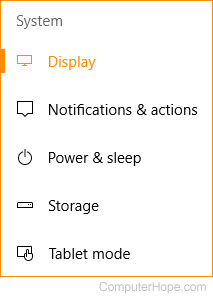
- In the Settings window, click the System option in the left navigation menu, if not already selected.
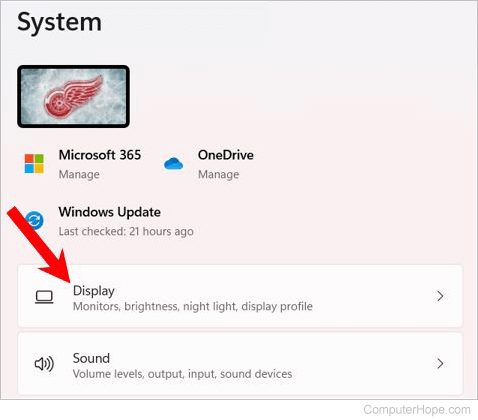
- On the right side of the Settings window, click the Display option.
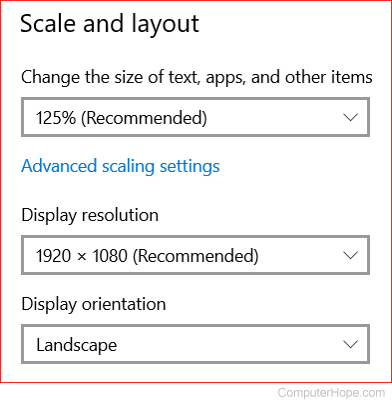
- In the Scale & layout section, the current screen resolution is listed under Display resolution.
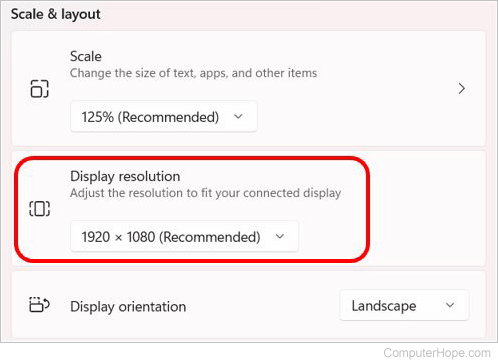
- To change the display resolution, click the down arrow on the right side of the Display resolution box and select an option from the drop-down menu.
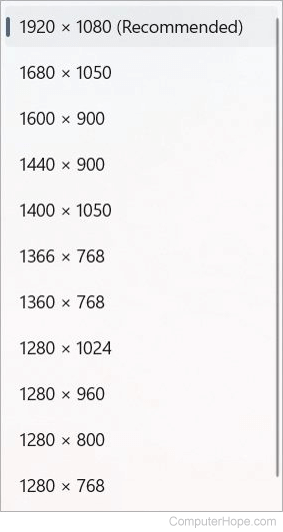
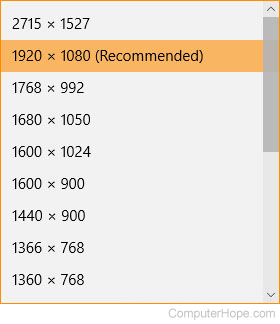
In the drop-down menu, the resolution with (Recommended) next to it is your monitor's native resolution.
The dimensions at the top of the menu indicate the highest resolution your monitor can display.
If you have more than one monitor connected to your computer, each monitor is next to the "Detect" and "Identify" buttons.
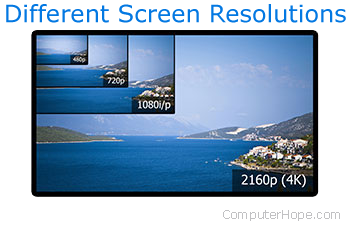
As you increase the resolution, the overall picture gets smaller. However, the image quality improves because there are more pixels shown on the screen. For example, a resolution of 1920 x 1080 appears much larger and has a poorer image quality than a resolution of 3840 x 2160 on a 4K monitor.
You can also change the orientation of the screen display or return to the normal setting by clicking the Display orientation drop-down menu and selecting Landscape or Portrait.
Windows 10

- Press the Windows key, type Settings, and press Enter.
- In the Settings window, click the System option.
- On the left side of the Settings window, under the System section, click the Display option, if not already selected.
- In the Scale and layout section, the current screen dimensions are listed under Display resolution.
- To change the display resolution, click the down arrow on the right side of the Display resolution box and select an option from the drop-down menu.
In the drop-down menu, the resolution with (Recommended) next to it is your monitor's native resolution.
The dimensions at the top of the menu indicate the highest resolution your monitor can display.
If you have more than one monitor connected to your computer, each monitor is next to the "Detect" and "Identify" buttons.
As you increase the resolution, the overall picture gets smaller. However, the image quality improves because there are more pixels shown on the screen. For example, a resolution of 1920 x 1080 appears much larger and has a poorer image quality than a resolution of 3840 x 2160 on a 4K monitor.
You can also change the orientation of the screen display or return to the normal setting by clicking the Display orientation drop-down menu and selecting Landscape or Portrait.
Windows Vista, 7, and 8

- In Windows Vista and Windows 7, open the Control Panel and click the Adjust Screen Resolution option under the Appearance and Personalization heading.
In Windows 8, right-click an empty area on the desktop and select Screen Resolution in the pop-up menu. - In the Screen Resolution window, the current display resolution is shown in the box next to Resolution.
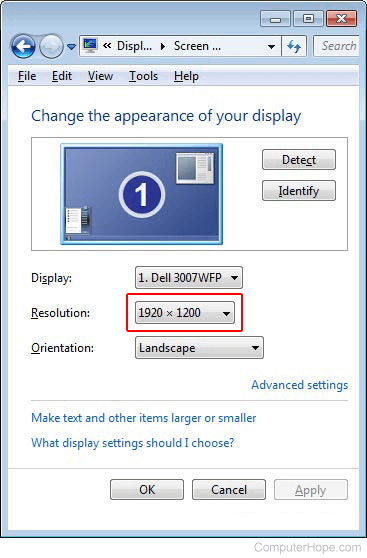
- To change the monitor resolution, click the down arrow on the right side of the Resolution box, and move the slider up or down to increase or decrease the screen resolution.
The dimensions at the top of the slider indicate the highest resolution your monitor can display.
If you have more than one monitor connected to your computer, each monitor is next to the "Detect" and "Identify" buttons.
As you increase the resolution, the overall picture gets smaller. However, the image quality improves because there are more pixels shown on the screen. For example, a resolution of 1920 x 1080 appears much larger and has poorer image quality than a resolution of 3840 x 2160.
You can also change the orientation of the screen display or return to the normal setting by clicking the Orientation drop-down menu and selecting Landscape or Portrait.
Windows 95, 98, Me, 2000, and XP

- Open the Control Panel.
- Double-click Display.
- Click the Settings tab.
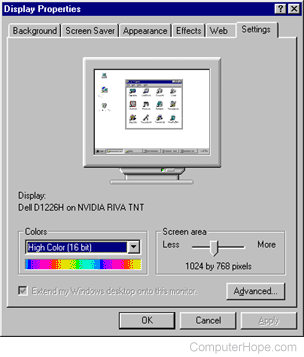
- In the Screen area section, the dimensions under the slider indicate the current screen resolution.
- To change the display resolution, move the slider left or right, click Apply, and click OK.
Moving the slider to the far right displays the monitor's maximum resolution.
macOS Ventura and Sonoma

To find out or change the screen's resolution in macOS versions 13 and 14, follow the steps below.
- At the top of the screen, on the far-left side of the menu bar, click the Apple icon.
- Select System Settings from the Apple menu.

- In the sidebar, click Displays (A).
- In the section to the right, click the toggle switch next to Show all resolutions so it's in the on position (B).
- Choose a new display resolution (C).
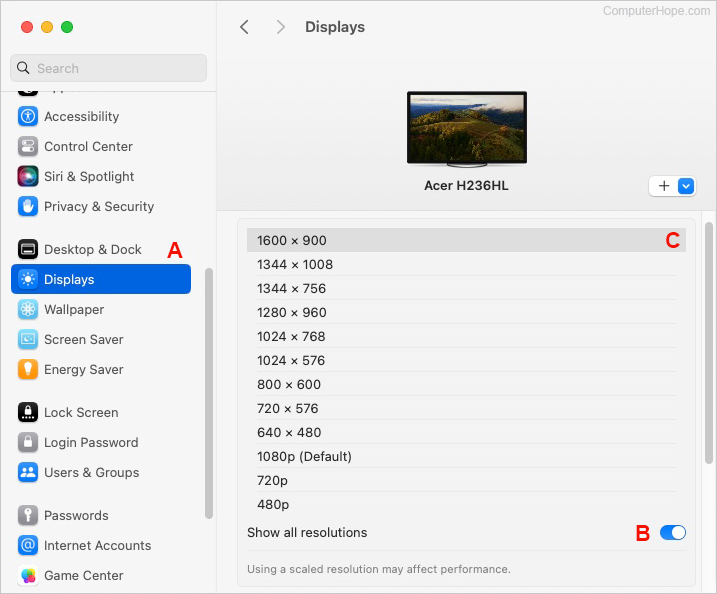
Your monitor's default resolution is the entry with (Default) next to it.
macOS High Sierra, Mojave, Catalina, Big Sur, and Monterey
To find out or change the screen's resolution in macOS versions 10 through 12, follow the steps below.
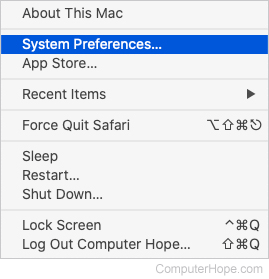
- In the menu bar, click the Apple icon to open the Apple menu.
- In the Apple menu, select System Preferences.
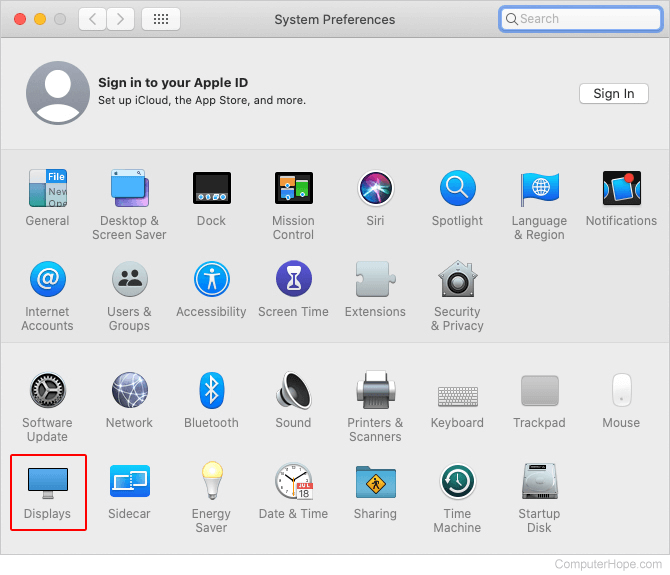
- In the System Preferences window, click the Displays option.
- In the next window, make sure the Display tab is selected at the top. Then, press and hold the option key, and click the button next to Scaled.
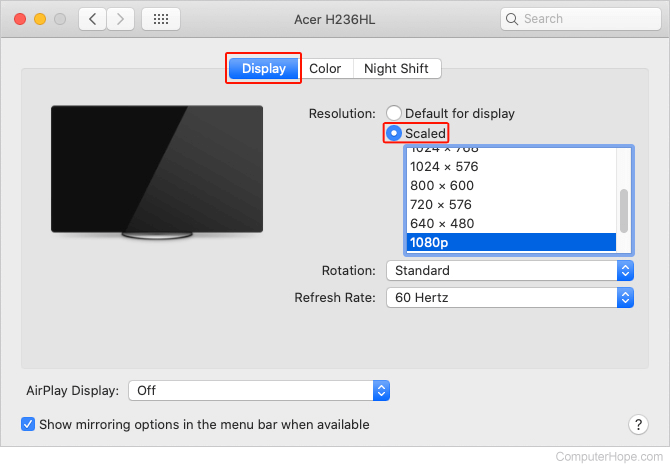
- The number highlighted in blue when you first expand the Scaled menu is the screen's current resolution. In this example, the current resolution is 1080p. The largest dimensions on the list are the monitor's native resolution.
- You may change the display resolution by clicking one of the options in the Scaled drop-down menu.
You can also change the orientation of the screen display or return to the normal setting by clicking the Rotation drop-down menu and selecting the desired option.
ChromeOS

To view or change the screen's resolution in ChromeOS on a Chromebook, follow the steps below.
- At the bottom-right corner of the Chromebook screen, click the rectangular box with the time, Wi-Fi icon, and battery icon.
- In the small menu window, click the Settings option.
- In the Search Settings text field, type display and click the Displays entry under the Devices heading.
- For the Resolution setting, on the far-right, move the slider to the right or left to increase or decrease the screen resolution.
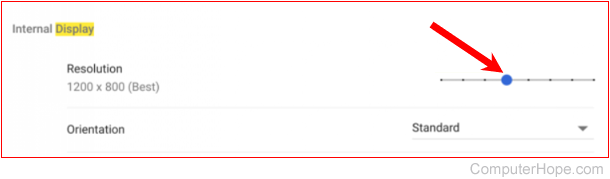
You can also change the orientation of the screen display or return to the normal setting by clicking the Orientation drop-down menu and selecting the desired option.