
How to create a recovery disk in Windows
Each brand and model of computer includes different software when initially purchased. Different versions of Windows are also available. Due to these two facts, there are multiple ways to create a set of recovery discs for a Windows computer.
Windows 11, 10, and 8 provide a recovery creation utility that can be used regardless of the brand of computer. However, Windows 7 and earlier versions of Windows do not provide a single utility. Review the steps and guidelines below based on the version of Windows on your computer.
Recovery disc creation guidelines for Windows 11, 10, and 8

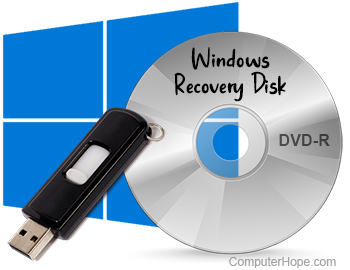
Instead of recovery discs, Windows 11, 10, and 8 utilizes a recovery USB (universal serial bus) flash drive. To create a recovery USB flash drive for your computer, follow the steps below.
The creation process suggests an 8 GB or larger USB flash drive be used. We recommend using at least a 32 GB, if not 64 GB, USB flash drive instead.
- For Windows 11, press the Windows key and type recovery.
For Windows 10, in the Search box next to Start, type recovery.
For Windows 8, type recovery on the Start screen. - In the search results, click the Create a recovery drive option.
- The recovery drive creation process begins with a check of the Windows system and the software installed. After the check process has completed, you are prompted to insert the USB flash drive into the computer.
In Windows 11, the recovery drive creation wizard asks to backup system files. Check or uncheck the box for that option, then click Next to perform the check of the Windows system and installed software.
- Follow the steps in the recovery drive creation process to create the USB flash recovery drive.
Do not turn off or restart the computer during the creation process.
Recovery disc creation guidelines for Windows 7 and earlier
Below are general guidelines for creating recovery discs for your Windows 7 or earlier computer. For more specific details and steps, please check the website of the computer manufacturer for help.
Many PCs today have a hidden partition that can be used without any disc or drive to recover a computer.
- The recovery disc creation process will likely require two or more DVDs or CDs to create a set of recovery discs.
- Each computer manufacturer provides a specific recovery disc creation computer program. There is no one program for creating recovery discs on any computer.
- In the Start menu, view the Programs or All Programs menu. Look for a program or folder with a name containing "Recovery" or "Restore." Most recovery disc creation programs are named with that word included. The program name may include the computer manufacturer's name in it.
- The recovery disc creation program guides you through the process to create the recovery discs. Follow the steps and do exactly as the instructions state.
- Do not turn off or restart your computer during the recovery disc creation process. It is often recommended that you do not use the computer during the creation process, to reduce the risk of a bad disc being created. The creation process uses a high amount of memory to run properly. If you use other programs on the computer at the same time, the creation process may not have enough memory to create the recovery discs properly.