
How to clone a disk in Windows
To make an exact, byte-for-byte copy of a disk, you can clone it to another disk. Disk cloning copies everything on the disk, including its partitions and file systems.
When is cloning useful?
Cloning is useful when you want to copy a system disk — the disk containing your operating system. All installed software, documents, and configuration is cloned, including low-level data such as the master boot record, which is required to boot the computer.
Cloning can create a replica of a system disk that can be used as a replacement if the original disk fails.
Terms used in these instructions
In the instructions below, we use the following terms:
- Disk — a physical storage drive in your computer. It may be a hard disk drive, a solid-state drive, or any other media mounted by Windows as a writable volume.
- Source disk — The disk you're cloning.
- Destination disk — The disk where the clone will be written.
All data on the destination disk is destroyed when the clone is written. There is no way to undo the clone. Therefore, make a backup of any existing data on the disk before selecting it as the destination of a clone operation.
Requirements
Requirements for cloning disk-to-disk in Windows:
Disk capacity
The capacity of the destination disk must be at least as large as the source disk.
Software
Special software is required to perform a cloning operation. Several free cloning software packages are available for Windows, including:
- Clonezilla
- AOMEI Backupper (Pro version is required to clone a system disk.)
- EaseUS Todo Backup
In this article, we use Macrium Reflect. It's robust, intuitive to use, and supports system disk cloning. The first thing we do is walk through the installation.
Macrium Reflect is available for free as a 30-day trial. Purchase of the software is required after the trial period.
Example: Clone a disk
To install Macrium Reflect, first download and run the download agent. The agent downloads the installer, which installs the software on your computer.
Follow these steps to download and install Macrium Reflect.
Download Macrium Reflect
- Download the Macrium Reflect download agent.
- Locate the executable in your download folder, and run it.
![]()
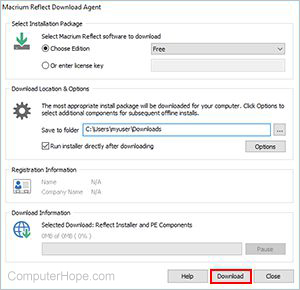
- In the download agent, click Download.
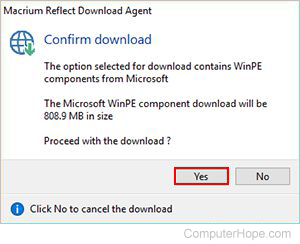
- You are prompted to install the WinPE (Windows Preinstallation Environment) module, which is used by Macrium Reflect for some operations. To proceed, click Yes.
- The agent downloads the installer. By default, the installer runs automatically when the download is complete.

If you decide to run the installer later, you can find the executable in the folder where you downloaded the agent, in a subfolder named Macrium.

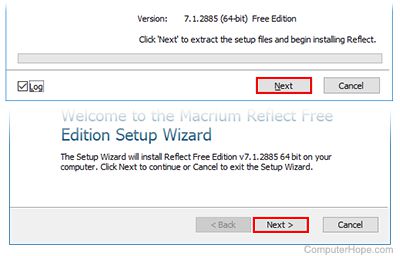
Run the Macrium Free installer
- Click Next twice to launch the installer.
- Accept the license agreement, and click Next to continue.
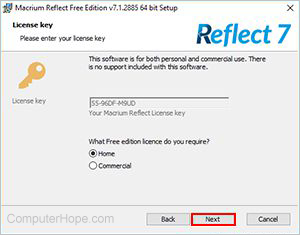
- Choose which edition of Macrium Reflect Free to install, "Home" or "Commercial." If you're not using the software for a business, choose Home.
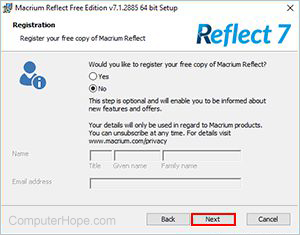
- Optional step: Register your e-mail address to receive news and updates about Macrium products.
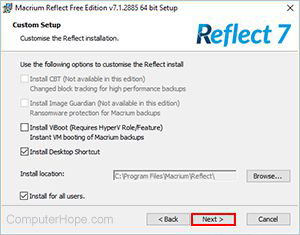
- Finalize your installation options. You're given the option to install ViBoot. ViBoot is an optional component, not required to make a clone, so we do not install it here. More information about ViBoot is available at Macrium's website. Click Next to continue.
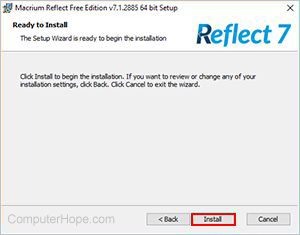
- Click Install.
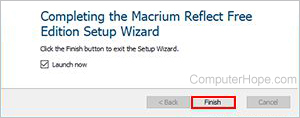
- When the installation is complete, click Finish.
- Before the installer exits, you are asked once more to register your identity with Macrium. Registration is not required.
Reflect is now installed. By default, it will launch automatically.
Use Macrium Reflect to clone a disk
- In the main Macrium Reflect UI (user interface), with the "Disk Image" and "Create a backup" tabs selected, locate the source drive to clone. Select it by clicking it once. Beneath the selected disk, the option Clone this disk is listed. Click it now.
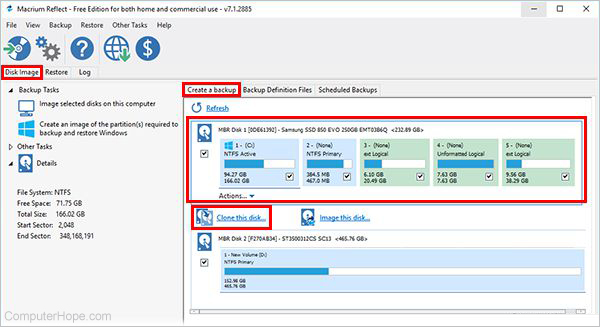
In this example, our source disk has several partitions: two Windows partitions (the system partition, and the recovery partition), and three Linux partitions. Your disk may look different. You may only have one, two or three partitions. Regardless, the instructions will be the same, because in this example we are cloning the entire disk.
- The Clone window opens. Verify you have the correct source disk selected. Then, click Select a disk to clone to.
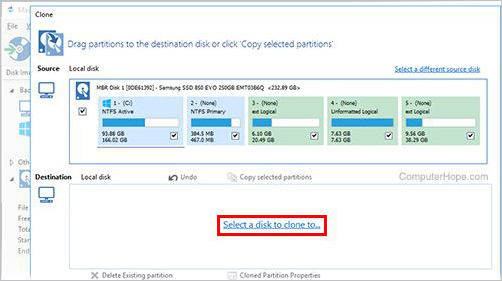
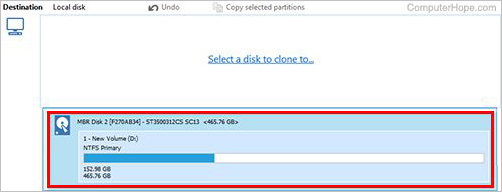
All eligible destination disks are shown in a drop-down list. Select your desired destination disk.
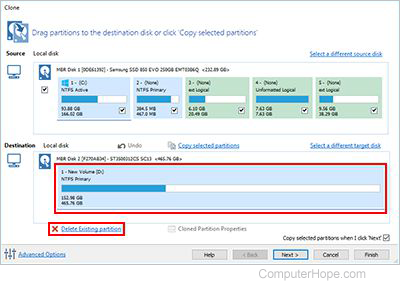
- When we perform the clone, we will overwrite the entire destination disk. If the disk contains data, its partitions should be removed, clearing the slate for the cloning process. To specify that they should be deleted before cloning begins, select each partition in your destination disk one at a time and click Delete Existing Partition. Note that the partitions is not deleted until the configuration is complete and the clone operation begins.
If your destination disk has no partitions, you can skip this step.
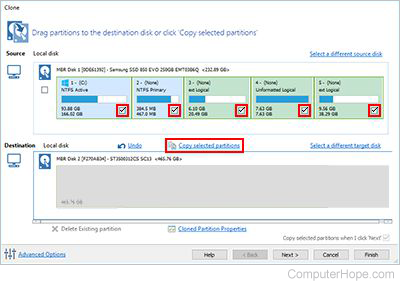
- With all partitions marked for deletion on our destination disk, the disk looks completely gray (see image below). In the source disk (on top), make sure all partitions have a checkmark. You can uncheck any drive you don't want to clone. In this example, we're cloning everything. Then, click Copy selected partitions.
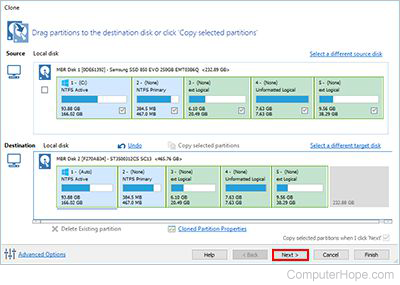
- The source partitions are now displayed in the destination disk, indicating that they will be cloned. Any extra space at the end of the disk will be unallocated. You can allocate it later if you like. See Optional: allocate remaining space for more information. Click Next to continue.
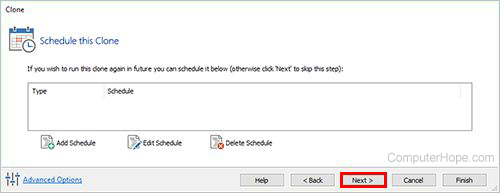
- Reflect lets you schedule this clone to happen regularly. Scheduling a clone can be useful to perform regular backups automatically. We will not configure a schedule in this example. Click Next.
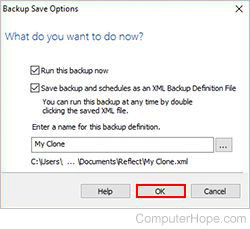
- Macrium Reflect gives you the option to save your configuration to a file that can be opened later to reload the same settings. This option is recommended. You can use the default file name when saving your configuration. Click OK to begin the cloning process.
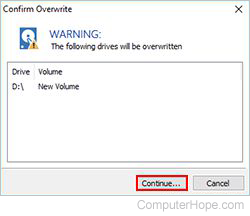
- You're warned that changes are about to be written. This is your last chance to abort before deleting your destination drive and creating the clone. When you're ready to start, click Continue.
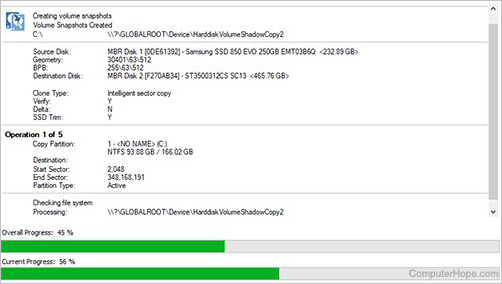
- Cloning begins. Depending on your system hardware, and the size of your disks, this will probably take between 15 minutes and an hour.
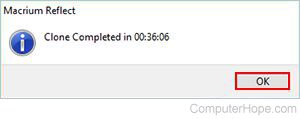
- When the clone operation is complete, click OK.
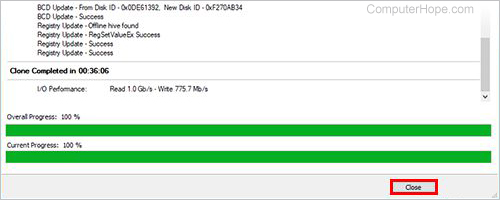
- Review the details of all completed operations. Click Close when you're done.
Optional: Allocate remaining space on destination disk
If your destination disk is bigger than your source disk (as in this example), the remaining space is unallocated by default. It is not partitioned, it is not formatted with a file system, and you can't use it to store data yet. First, you must allocate that space by creating a partition there.
In these steps, we will allocate our unallocated space with the Windows Disk Management tool.
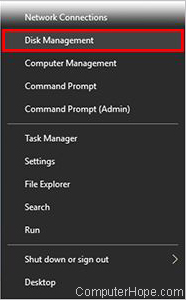
- Launch Disk Management from the Power User Tasks Menu. To open the menu, press Win + X (hold down the Windows key and press X) or right-click your Start menu icon. Then, choose Disk Management.
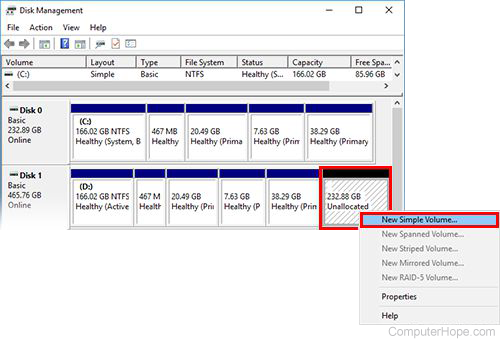
- In the Disk Management window, your partitions are grouped in rows, where each row represents one disk in your computer. Right-click the unallocated space on your destination disk and select New Simple Volume.
- The New Simple Volume wizard opens. Click Next.

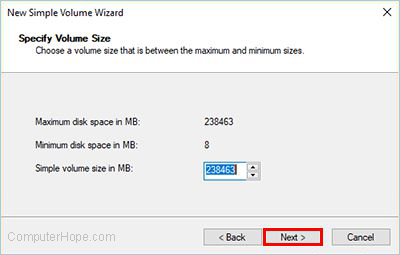
- Specify the size of the new volume. To use all available space, leave the default value unchanged. Click Next.
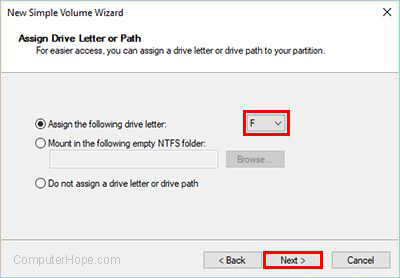
- Assign a drive letter for your new volume. You can use the default value, or choose any available letter from the drop-down menu. Click Next.
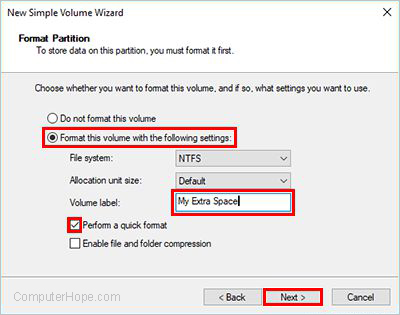
- Choose Format this volume, and specify NTFS (NTFS file system) file system type, and Default allocation size. Enter an optional Volume label — a name for your volume. It can be anything you want, up to 32 letters and spaces. Then, choose Perform a quick format. If you don't choose Quick Format, the operation may take a very long time. Click Next to continue.
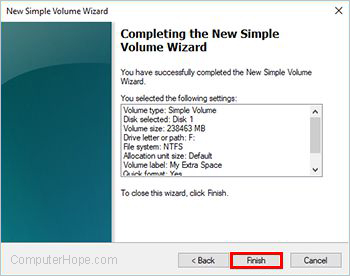
- To commit your changes, click Finish.
- The new volume is shown at the end of your destination drive. If you'd like to view details about your new volume, right-click it and choose Properties.
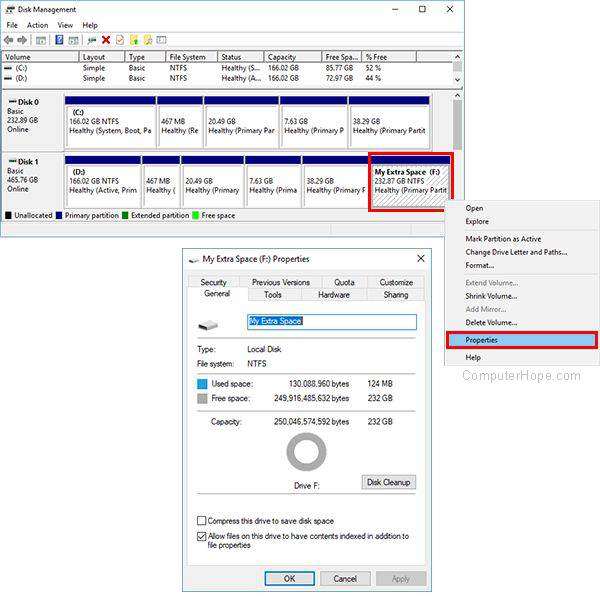
When you're done, close the Properties window, and close Disk Management.