
How to create a personal cloud server
Cloud computing services have become widely used, ranging from cloud storage services, like Dropbox and iCloud, to productivity suites, like Google Workspace and Office 365. These services offer the ability to sync documents across devices and to use professional software from any web browser or mobile device. As cloud computing matures, an increasingly popular solution is for users to operate a personal cloud server.
In these instructions, we create a cloud storage service you control using the open-source software, Nextcloud. We create a local test server, limited to operating in your local network. Then we install the Nextcloud client on your desktop computer and mobile device, and synchronize files between them. Then we show how you can run this same general configuration on a remote hosting service, so you can access your cloud from anywhere.
About Nextcloud
Nextcloud is a cloud storage server designed to scale to hundreds of thousands of users. You can run the client software on Windows, macOS, Linux, Android, and iOS, syncing files to multiple devices.
You can also access your files on the web by logging in to your Nextcloud web portal. The portal features an Administrator Control Panel, where you can add users, configure group permissions, and set individual disk quotas. The portal also uses a plugin system to provide additional features, such as real-time chat and video conferencing for you and your other users.
To learn more about Nextcloud, visit the Nextcloud official website.
Creating a local Nextcloud server
To skip the local installation and install Nextcloud on a web hosting service with a domain name, proceed to running Nextcloud on the Internet.
In this section, we create a Nextcloud server on your local network. The cloud service is only available to devices connected to your network. This setup lets you try out Nextcloud in the security of your local network, without spending any money on a domain name or a remote web hosting service.
You could run the server on a dedicated computer, but for testing, it's easier to install it on a VM (virtual machine), which you can run on your primary computer. Your computer requires the following resources:
- A 64-bit CPU (central processing unit) with a 64-bit operating system. If you're not sure, see: How to determine if you have a 32-bit or 64-bit CPU.
- An Internet connection.
- 10 GB of free disk space.
- At least 1 GB of RAM (random-access memory) to dedicate to the VM.
Download Ubuntu 18 Server
Nextcloud requires a server running Linux. The recommended Linux OS (operating system) for Nextcloud is Ubuntu Server, so that's what we use in this example.
Ubuntu is free to download and use. Download Ubuntu Server 18.04 from https://releases.ubuntu.com/bionic/ubuntu-18.04.6-live-server-amd64.iso. It's a large file, at about 1 GB.
Install VirtualBox and create a VM
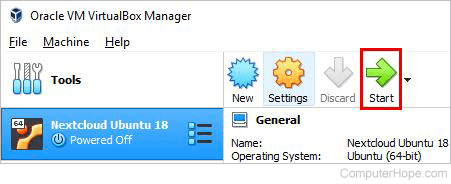
In this example, we use Oracle VM VirtualBox to create and run our VM. VirtualBox is free of charge for personal use.
- In a browser, go to https://www.virtualbox.org/wiki/Downloads. Click Windows hosts to download the installer for Windows.
- Run the installer using the default installation options. When the installation is complete, run VirtualBox.
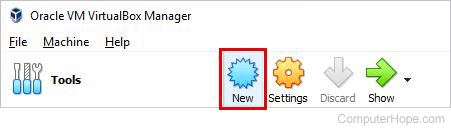
- In VirtualBox, click New to create a new virtual machine.
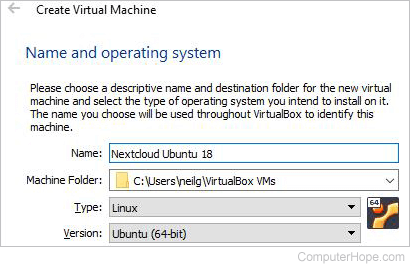
- Name the VM. The name can be anything, but it should contain the word Ubuntu. Make sure "Type" is set to Linux and "Version" is set to Ubuntu (64-bit). Click Next.
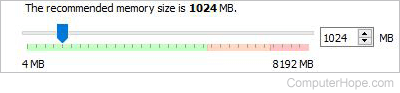
- Set the "Memory size" to 1024 MB (1 GB). Click Next.
- For "Hard disk," choose Create a virtual hard disk now and then click Create.
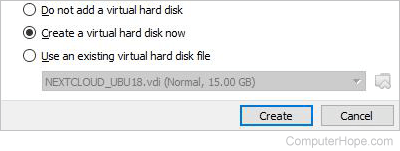
- For "Hard disk file type," choose VDI (VirtualBox Disk Image). Click Next.

- For "Storage on physical hard disk," choose Dynamically allocated.

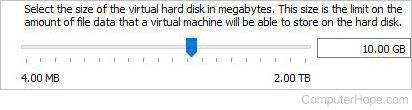
- For "File location and size," choose a disk size of 10 GB. (You can choose a larger size if you'd like.) Click Create.
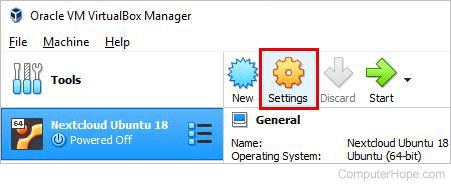
- Configure the network adapter, so it's part of your local network. With your VM highlighted on the left, click Settings.
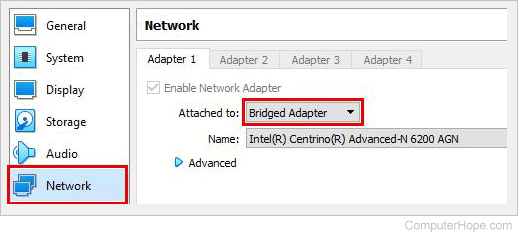
- On the left, click Network. On the right, under "Attached to," select Bridged adapter. Click OK.
- The VM is ready to go. Click Start.
- At "Select start-up disk," click the folder icon, and choose the Ubuntu ISO you downloaded. If it's still downloading, wait until the download is complete. Click Start.

The Ubuntu Server ISO boots. Your virtual machine is up and running.
Install Ubuntu Server on your VM
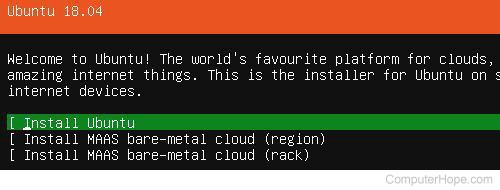
Your VM boots into the Ubuntu Server live ISO, which contains the Ubuntu installer.
When you click inside the VM window, it captures your mouse and keyboard. Your mouse cursor will disappear, and you may not be able to use Windows shortcuts such as Alt+Tab. You can release the keyboard and mouse by pressing the VirtualBox "Host Key," which is the right Ctrl on your keyboard. To continue using the VM, click inside its window again.
The installer interface is text-only. In the following steps, use the up, down, and Tab keys to change the highlighted option, the spacebar to toggle a check box, and Enter to make a selection.
- Set your keyboard type. If you're using a standard US keyboard, press Enter.
- Choose Install Ubuntu and press Enter.
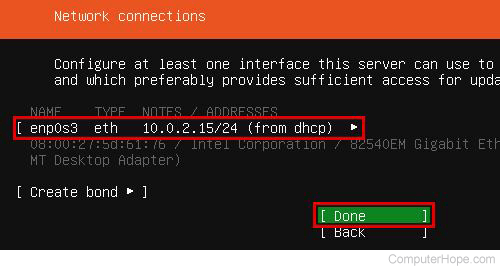
- Under "Network connections," choose the network adapter that Ubuntu should use. In this example, we want it to use our Ethernet connection (eth). Choose Done and press Enter.
- At "Configure proxy," press Enter.
- At "Configure Ubuntu archive mirror," press Enter.
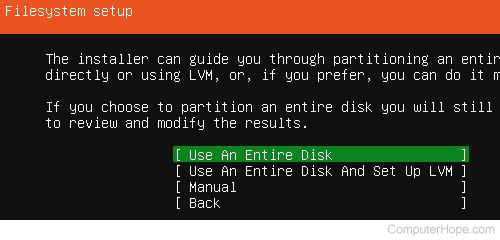
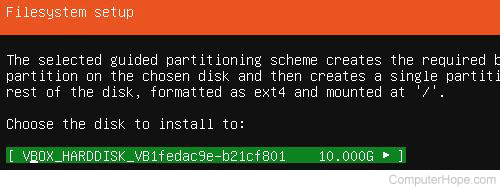
- Under "Filesystem setup," choose the default, Use an Entire Disk. Press Enter.
- The 10 GB VirtualBox VDI is the only disk. At "Choose the disk to install to," press Enter.
- Review the summarized information, then choose Done and press Enter.
- Under "Confirm destructive action," choose Continue and press Enter.

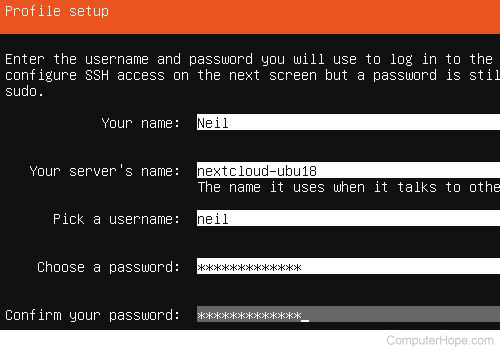
- Under "Profile setup," create a new user profile. The new profile is also the default Ubuntu administrator account. "Your name" can be anything you like. For "Your server's name," enter a hostname for your computer (using only numbers, lowercase letters, dashes, and underscores), such as nextcloud. For "username," choose the name you want to use to log in to the computer (using lowercase letters and no spaces). Choose a password, and enter it again to verify. Choose Done and press Enter.
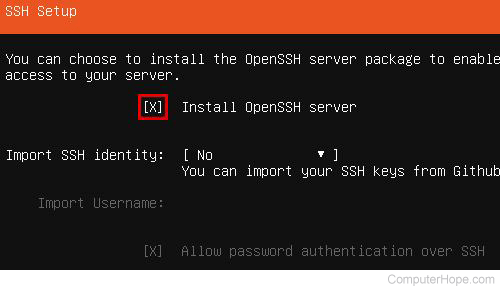
- Under "SSH setup," select the box marked Install OpenSSH server. An SSH (secure shell) allows you to remotely connect to the machine if necessary. Choose Done and press Enter.
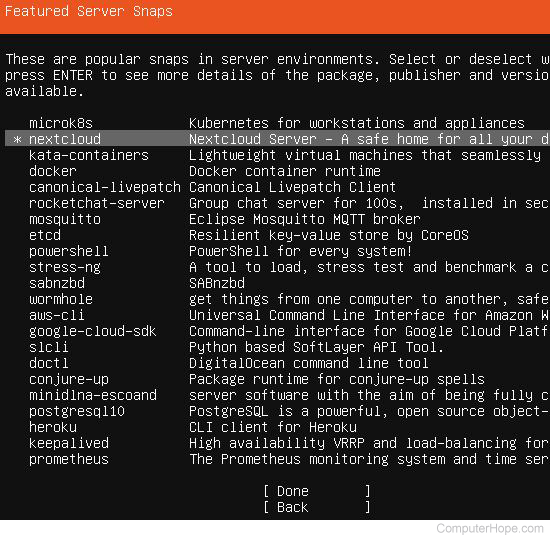
- Under "Featured Server Snaps," choose Nextcloud. Choose Done and press Enter.
- The installation process continues. When it's done, choose Reboot now to boot the installed operating system.
Configure Ubuntu and install Nextcloud server
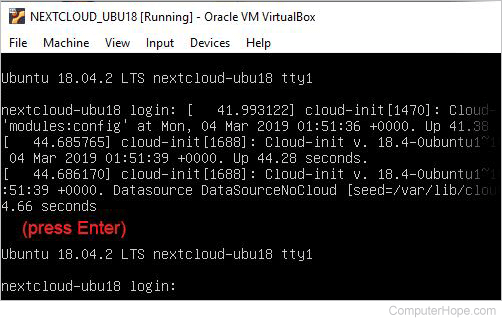
- When the server boots, log in with the name and password you chose during Ubuntu profile setup.
You might notice that the login prompt gets mixed up with other system messages. If you don't see the login prompt, press Enter to display a new one.
- Perform an initial system update. Run sudo apt-get update && sudo apt-get upgrade && sudo apt-get dist-upgrade. Enter your password when prompted. If you're asked to confirm an upgrade, type y, and press Enter.

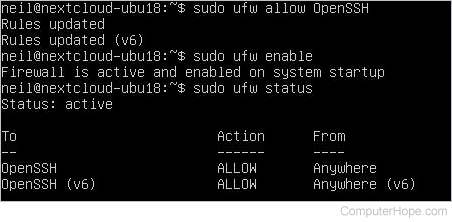
- Add a firewall rule to allow OpenSSH connections. Run sudo ufw allow OpenSSH.
- Run sudo ufw enable to enable the firewall.
- Run sudo ufw status to verify that the firewall is filtering the server's network traffic.
- Start the Nextcloud installer. Run sudo nextcloud.manual-install user pass. For user and pass, choose the name and password you want to use with your Nextcloud account. It can be different than your Ubuntu name and password. This account is the Nextcloud administrator account.
![]()
After a few moments, you see:
Nextcloud was successfully installed
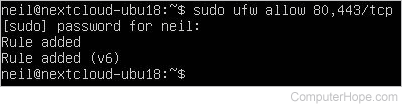
- Next, open ports 80 (HTTP (hypertext transfer protocol)) and 443 (HTTPS) in your firewall. Run sudo ufw allow 80,443/tcp.
- Nextcloud maintains an internal list of trusted domains. Only requests addressed to these domains get a response from the Nextcloud server. By default, the only trusted domain is localhost (the server can only respond to itself). To view the trusted domains, run sudo nextcloud.occ config:system:get trusted_domains.

- You need to add your server's IP address to the trusted domain list. First, determine your server's IP address. Run ip a | grep inet to find the IP address of the server on your local network. If you are on an IPv4 network, it should start with 192.168 or 10.0.
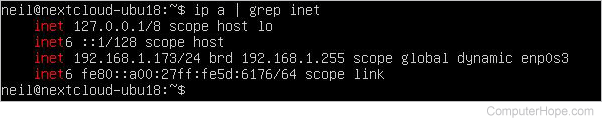
- Here, our address is 192.168.1.173. Now, set this address as a trusted domain. Run sudo nextcloud.occ config:system:set trusted_domains 1 --value=domain, where the domain is the IP address of your server.

- Create an SSL (secure sockets layer) certificate so that Nextcloud can encrypt your data over HTTPS. Because this cloud is restricted to your home network, you can use a self-signed certificate. Run sudo nextcloud.enable-https self-signed.

Server configuration is complete, and your cloud is operational. The Nextcloud service is running, and your server is listening on your local network for HTTP and HTTPS connection requests.
Log in to Nextcloud
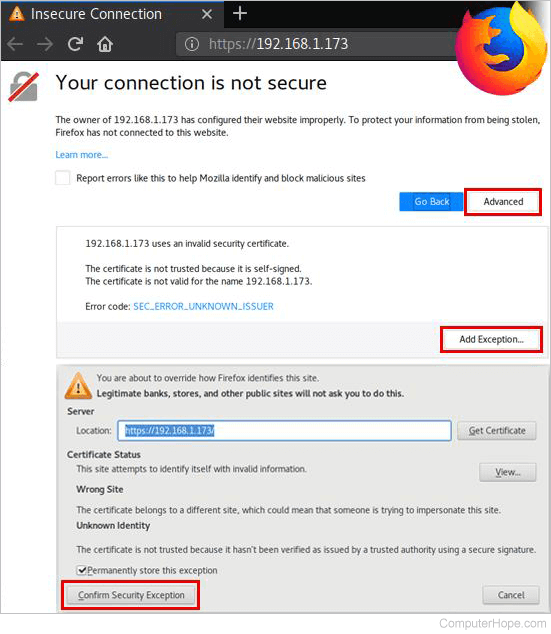
To log in to your Nextcloud web dashboard, you need to add a security exception to your browser, so it accepts your self-signed SSL certificate. Normally, you would never want to create an exception like this, unless you control the server and network. (This step is not required if you're running Nextcloud on the Internet, in which case it uses Let's Encrypt to provide SSL certificates.)
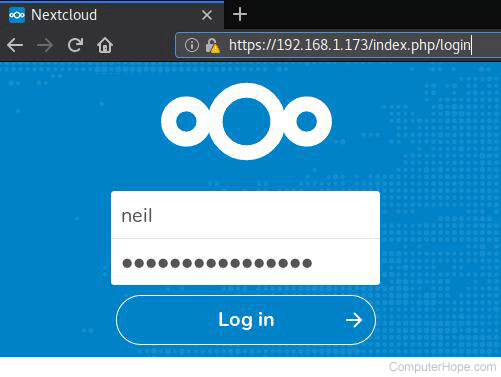
- In a browser, go to the address of your Nextcloud server. In this example, the address is 192.168.1.173.
- Your web browser will warn you that the SSL certificate is self-signed. In Chrome, click Advanced, then Proceed to.

If you're using Firefox, click Advanced, Add Exception, Confirm Security Exception.
- Enter your Nextcloud username and password, as you configured them when installing Nextcloud. Click Log in.
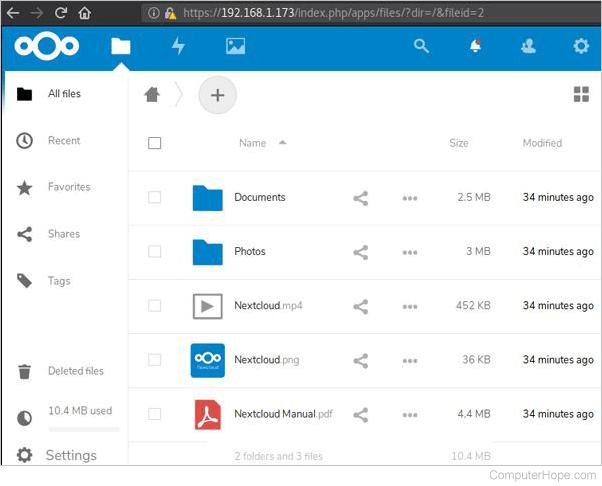
- In the Nextcloud dashboard, you can view and work with the files you've stored in the cloud. If you click the gear icon (⚙), you can access Administrator settings and customize your server preferences. No configuration is necessary to begin using Nextcloud, so we won't change anything now. For a detailed guide to Nextcloud preferences, see https://docs.nextcloud.com/server/stable/user_manual/en/userpreferences.html.
How to use Nextcloud
Your server is running, and now it needs clients. In these steps, you install the Nextcloud client on your desktop computer, and on a smartphone.
Install Nextcloud client on your desktop computer
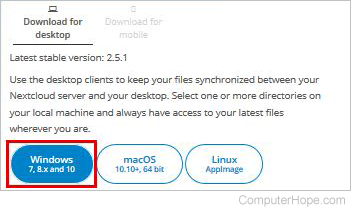
- In a browser, go to https://nextcloud.com/install/. Click Download for desktop.
- Click the Windows option. The installer downloads.
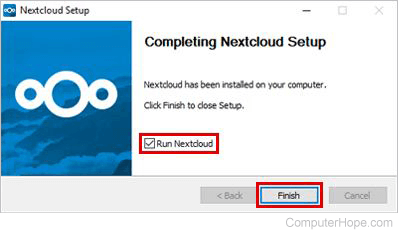
- Run the installer, leaving all options at the defaults. When the installation is complete, check Run Nextcloud, and click Finish.
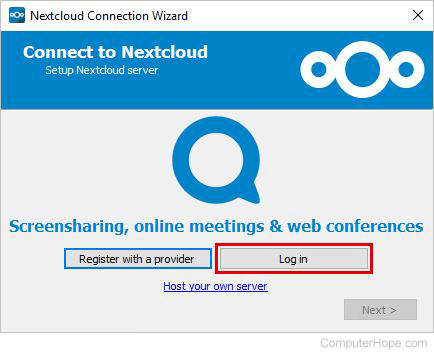
- At the Nextcloud Connection Wizard, click Log in.
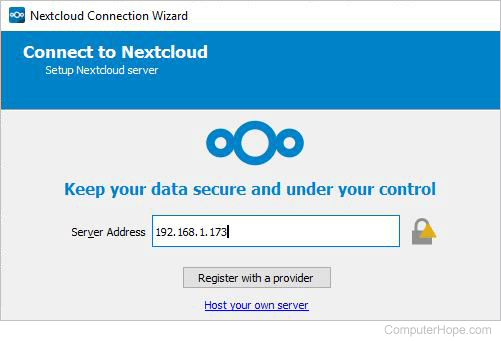
- For Server Address, enter the IP address of your server.
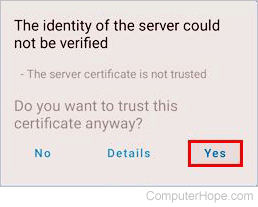
- You are notified that the server certificate is untrusted (because it is self-signed). Check the box labeled Trust this certificate anyway. Click OK.

- Click Log in.
- Enter the name and password you chose when installing Nextcloud. Click Log in.
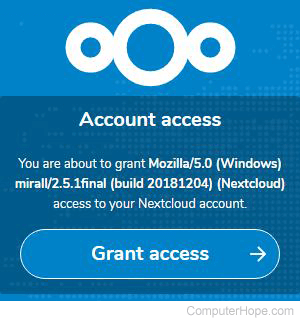
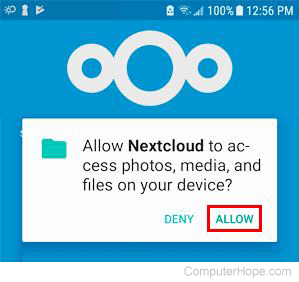
- Click Grant access.
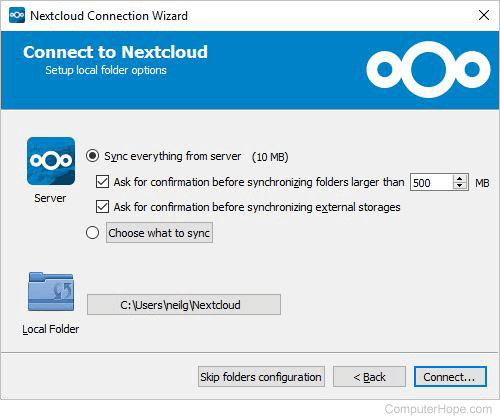
- At "Setup local folder options," click Connect.
- Nextcloud starts its first sync, and downloads the default "Welcome to Nextcloud" files to your local folder.
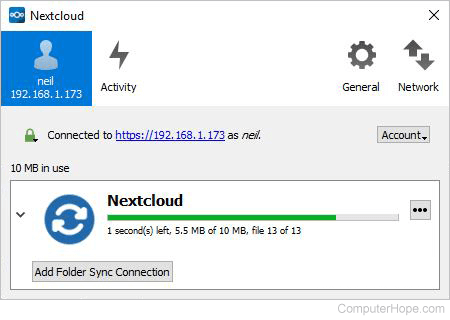
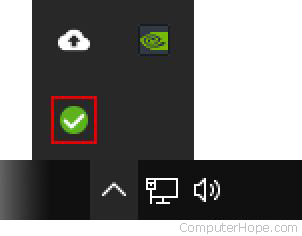
- When your local folder is in sync with the server, you'll see a white checkmark in a green circle. When a sync is in progress, this icon turns blue with a white arrows.
![]()
- You'll also see the icon in your notification area. Click this icon to open the Nextcloud window. Right-click it for a menu of options, including Pause synchronization, Settings, and Quit.
Congratulations! You're now running a private cloud server, and syncing to a client. To access your local Nextcloud folder, open a File Explorer window (press Windows key+E). On the left, click Nextcloud.
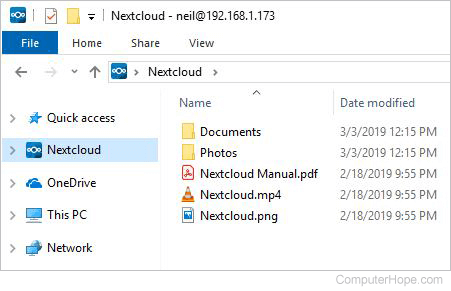
If you add files or folders here, they are automatically synced to the cloud, and to any other devices running the client.
Install Nextcloud client on your mobile device
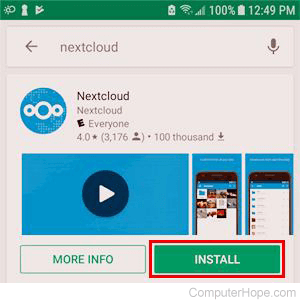
The screenshots in this section are on an Android device, but the steps are the same on iOS.
- Install the Nextcloud app. On Android, use Google Play Store. On iOS, use the App Store.
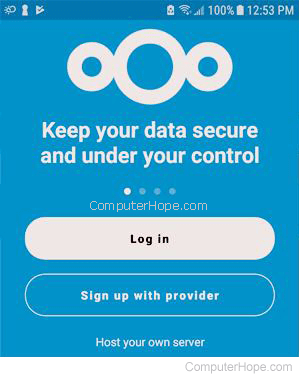
- Open the app, and tap Log in.
- When prompted, allow access to files on your device.
- For the server address, enter the IP address of your server.

- Tap Yes to trust the self-signed certificate.
- Tap Log in.
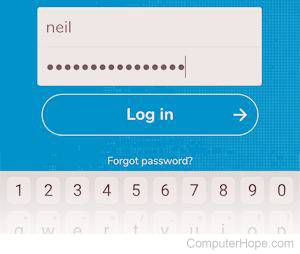
- Enter the name and password you configured in installing Nextcloud and tap Log in.
- Tap Grant access.

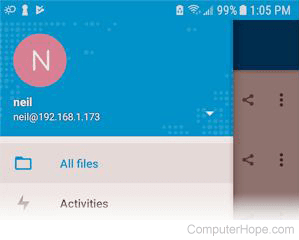
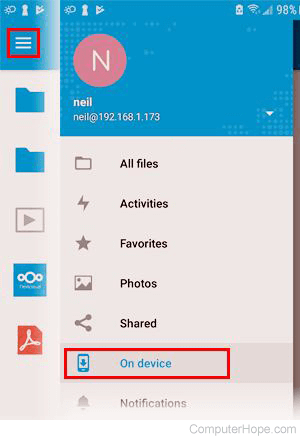
- Nextcloud is now installed. However, no files are synced yet. On mobile, where storage is at a premium, the Nextcloud client will not sync anything to your device until you ask for it. To view what's available to sync from your Nextcloud, tap the main menu button ( ☰ ).

- Choose All files.
- Here, you see the files already on your Nextcloud server. To sync something to your device, tap the three dots ( ⋮ ) next to the file or folder, and choose Sync.

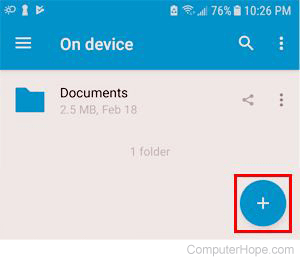
- To work with files that are synced to your device, open the main menu ( ☰ ) and choose On device.
- To upload files from your device to Nextcloud, open the folder where you want to put the file, and tap the plus icon (+).
Starting and stopping the VM
Your Nextcloud server is now available to any devices connected to your local network, as long as your VM is running. However, you will want to stop the server when you're done testing, or when you need to shut down or reboot your computer.
You can shut down your Ubuntu server from the Ubuntu Server command line by running sudo shutdown now. To start the server later, select the VM in your VirtualBox window, and click Start.
Alternatively, you can save the machine state. Saving state will freeze the VM and all its current memory contents, and resume from this point when you start it later. To save the state, hold down the right Ctrl on your keyboard, and then press Q on the keyboard. Select Save the machine state, and click OK.

Running Nextcloud on the Internet
To access your cloud from anywhere, you can create this same setup on a remote host, such as Linode or DigitalOcean.
These steps require you own a domain name. Configure Nextcloud to use a subdomain of your existing domain, such as subdomain.mydomain.com.
In the following example, we set up Nextcloud on a Linode "Nanode," their minimal hosting option. As of March 2024, a Nanode offers 1 CPU, 1 GB RAM, and 25 GB SSD for your hosting instance, priced at $5/mo.
These steps also work on the equivalent $5/mo hosting option at DigitalOcean.
Create an Ubuntu Nanode and configure your domain
- Log in to your Linode account. Go to https://www.linode.com/, and click Log in. Enter your Linode name and password.
- At the Linode dashboard, click Create, and choose Linode.
- Under "Create from image," "Public Images," choose Ubuntu.
- For "Region," choose the location that is geographically closest to your usage area.
- For "Linode Plan," chose Nanode. (You can choose a more expensive hosting option if you prefer.)
- For "Root password," set the Administrator password for your hosting instance. The first time you log in to the instance, you will log in as username root, and the password you set here.
- Click Create.
- Determine the IP address of your server. In the Linode dashboard, click Linodes on the left. On the right, you'll see the IPv4 and IPv6 address of your Nanode. Copy down the IPv4 address.
- Log in to your domain name registrar account. Add a new DNS (domain name system) resource record to your domain name's DNS settings. (If you're not sure how to add a record to your domain name, check the documentation on your registrar's website.) Create a new Type A record. The Name of the record is the subdomain name. For example, you could name it nextcloud, mycloud, or anything else you like. (The name should contain only lowercase letters, numbers, dashes, or underscores, and no spaces). Set the Data entry of the record to the IP address of your Nanode, which you wrote down in the previous step.
Configure Ubuntu, and install Nextcloud server
- In your Linode dashboard, on the left, click Linodes. Under your new Nanode, click Launch Console.
- If necessary, press Enter to get a login prompt. For the user, enter root. For password, enter the root password you configured when creating the Nanode.
- Update the system.
apt-get update && apt-get upgrade && apt-get dist-upgrade
If you are prompted about updating your GRUB (GRand Unified Bootloader) configuration, choose to keep the currently installed GRUB configuration.
- Create a regular system user, so you can log in as someone other than root. Run the adduser command. The username can be anything you like (lowercase letters, numbers, dashes, and underscores, no spaces). Enter a password, then enter it again to verify it. The rest of the information can be left blank. When prompted, type y and press Enter to create the user.
adduser username
- Next, run usermod to add this user to the "sudo" group, so you can run administrator commands without logging in to the root account.
usermod -aG sudo username
- Your regular user can now run commands with sudo. Log out of the root account.
exit
- Log in again, with the regular user's name and password.
- Run the following command to check if the snap package manager is installed, and if not, install it.
if ! which snap; then sudo apt-get install snapd; fi
- Install the Nextcloud server snap package. When prompted, enter the regular user's password.
sudo snap install nextcloud
- Install the Nextcloud server. For newuser and newpass, enter a new username and password for the Nextcloud administrator account. (You use these to log in to the Nextcloud client apps and web portal.)
sudo nextcloud.manual-install newuser newpass
- Configure the firewall to allow OpenSSH, HTTP, and HTTPS connections, then enable the firewall.
sudo ufw allow OpenSSH
sudo ufw allow 80,443/tcp
sudo ufw enable
- Set your subdomain as a Nextcloud trusted domain. Only requests made to this domain name will receive a response from Nextcloud. In the next command, replace subdomain.mydomain.com with your subdomain name.
sudo nextcloud.occ config:system:set trusted_domains 1 --value subdomain.mydomain.com
- Enable HTTPS using Let's Encrypt. This step automatically creates an SSL certificate for you, that needs to be renewed (for free) every 90 days.
sudo nextcloud.enable-https lets-encrypt
- Verify you meet the requirements, then type y to continue.
- At "Enter an e-mail address," enter an e-mail address where Let's Encrypt can notify you about certificate renewal.
- At "Enter your domain name(s)," enter your subdomain name, for example, subdomain.mydomain.com.
Your Nextcloud is now running on the Internet. You can use it as described in the section how to use Nextcloud, but instead of a local IP address, use your subdomain name.
If you enter your subdomain name in a web browser, you can log in to the Nextcloud web portal with your Nextcloud administrator username and password. When installing the Nextcloud client, use your subdomain name as the Nextcloud server address.
Best of all, you don't need to add any trust exceptions to your browser or client, because Let's Encrypt certificates are registered with a trusted certificate authority.
General Nextcloud tips
Saving big files
If you're working with a big file and saving it frequently, Nextcloud might have trouble syncing it. This problem arises when you make changes to the file faster than it can be uploaded to the server. If you encounter this problem, wait until the Nextcloud icon in your notification area turns green before saving your document again. Or, right-click the Nextcloud icon and choose Pause synchronization. When you're ready, right-click the icon and choose Resume synchronization to upload your changes to Nextcloud.
Resolving conflicts
If changes are made to a file on two separate devices, either at the same time or while one device is not running the Nextcloud client, conflicts may arise. The conflict occurs when you try to sync both versions of the file.
If the Nextcloud server isn't sure which version of the file you want to keep, it will keep them both, and display a warning in the client window. The Nextcloud icon changes to a yellow circle with an exclamation mark.
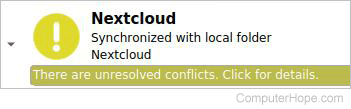
Click the yellow message bar to view the activity log, and find out which files are having a conflict.

The conflicting file will be renamed to include "conflicted copy" and the date. You can open both versions of the file and compare them, to figure out which one you want to keep.
To resolve the conflict, move the conflicted copy to a location outside of your Nextcloud folder, such as your desktop. Or, if you're sure, you can delete it.
When your Nextcloud folder contains no files with "conflicted copy" in their file name, the conflict is resolved. If your icon doesn't turn green right away, you can force a new sync, which will re-check the files in your local Nextcloud. In your client window, click the button with three dots ( ⋯ ) to the right of your main Nextcloud folder, and choose Force sync now.
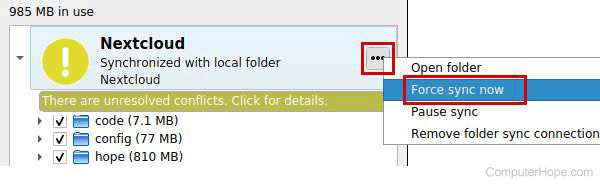
When the icon changes back to the green checkmark, your files are in sync again.