
How to create a screen recording with OBS Studio
OBS Studio is free software for recording and live streaming video on your computer. It's used by millions of streamers and video content creators around the world. It captures and composites media from multiple sources, such as the computer screen, webcam, and microphone, in real-time.
The following steps show how to record your computer screen and save it as a video file using OBS (Open Broadcaster Software).
Download and install OBS Studio
If OBS Studio is already installed, you can skip to the next section.
Go to the official OBS website and download the version of OBS Studio for your operating system (Windows, macOS, or Linux).
Run the installer. In the Auto-Configuration Wizard, you can choose Optimize just for recording, and leave the rest of the settings at the defaults. When installation is complete, open OBS.
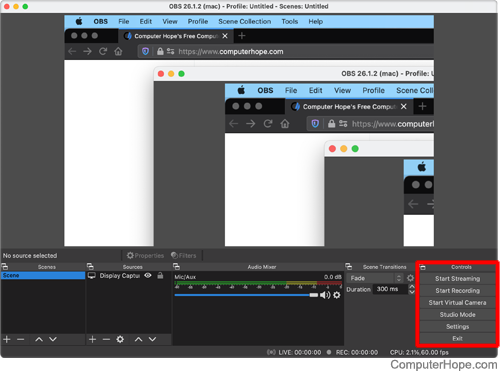
The top pane of the OBS window displays a real-time preview of what would be captured using the current settings.

By default, OBS captures everything on your computer screen, including the OBS window. If you click-and-drag the title bar to move the OBS window around, you see an "infinity effect" as it captures itself in real-time.
Set the Scene
In the lower-left area of the OBS window is the Scenes panel. In OBS, a "Scene" is a combination of one or more media input sources.

Click the Scene name to select it, and press Enter to edit it. Enter a descriptive name.
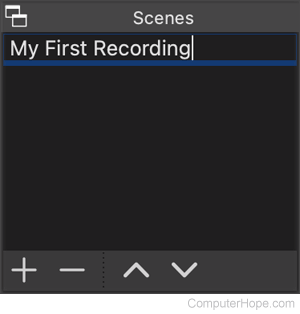
Press Enter again to save the name.
Configure your source
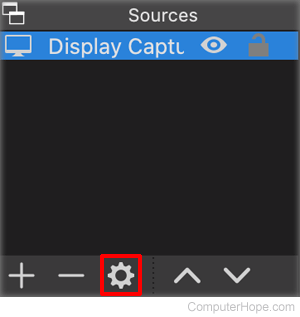
To the right of the Scenes panel is the Sources panel. The default source is Display Capture, which captures all or part of your computer screen.

To change the settings, double-click the Display Capture source, or click it once to select it, and click the gear icon ().
You can change which display is captured, or crop it to capture only part of the screen.

When you're done, click OK.
Output settings
Next, configure the location of your recorded video files.
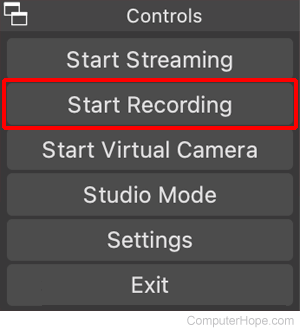
In the lower-right area of the OBS window is the Controls panel.
In the Controls panel, click Settings.

On the left of the Settings window, click Output.

Under Recording, for Recording Path, click Browse. Then, choose a location (such as your desktop or a new folder) where you want to save the video files on your computer.
There are other output settings you can choose, such as format and encoding bitrate. In this example, we've chosen mp4 as the Recording Format, and default settings for everything else.
The yellow warning text at the bottom of the Settings window helps explain the benefits and limitations of the settings you've chosen.
When you're done adjusting your settings, click OK.
Record your video
In the Controls panel, click Start Recording to begin the recording.
To stop, click Stop Recording. The video file is saved in the folder you chose as your Recording Path.