How to digitize a negative and slide on my computer
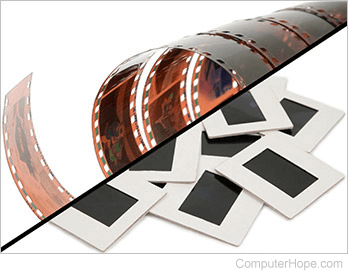
Most people have old photo negatives or slides collecting dust. Unfortunately, scanning them to a computer isn't as easy as placing the negative or slide on a document or photo scanner. However, today there are many different devices available to help digitize slides and negatives. On this page, we walk you through how to use a film and slide scanner. We are using the Kodak SCANZA (Amazon link), but the instructions should be similar for most film and slide scanners.
How to scan a negative or slide, making it digital
As we advance through the instructions below, we refer to the film and slide scanner as a slide scanner for ease of direction.
Depending on the manufacturer, you may need an SD card for the slide scanner to function.
- Set up the slide scanner according to the directions given by the manufacturer.
- Once all the cables are connected, turn on the slide scanner (you may need to hold down the power button for a few seconds).
- The manufacturer provides several types of plastic trays or adapters for use according to the type of material you are scanning. We are using the Negative Adapter for this example, as we are scanning a negative.
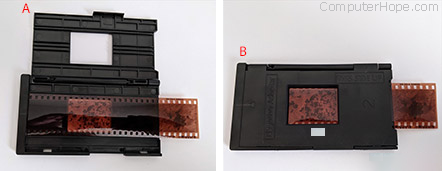
- Insert your negative into the adapter (A) and make sure the negative image you want to digitize is in the frame of the adapter.
- Close the lid of the adapter as shown below (B), enclosing the negative in the plastic adapter.
- Next, insert the adapter into the slide scanner until fully seated, as shown below (picture B).
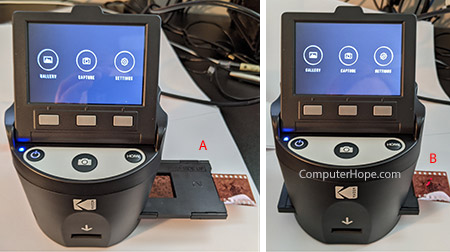
- On the slide scanner, press the button under Capture (A), or a similar button on your device. A picture of the chosen negative appears on the scanner's screen.
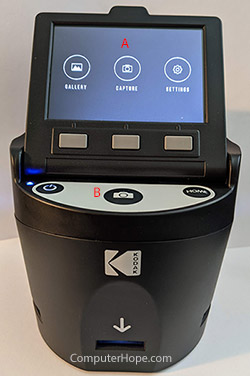
- Ensure the correct picture is displayed and appears how you want it.
- Press the Camera button on the scanner (B above), or a similar button on your device. This action saves the picture to the SD card.
- Repeat these steps as necessary for the number of negatives or slides you want to save.
- Once all negatives are scanned, remove the SD card from the slide scanner and insert it in the card reader to transfer the photos.
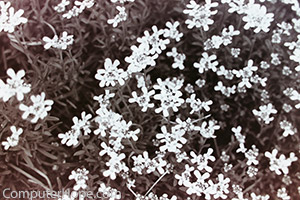
Pictured below is a digitized image of the negative we used in the instructions above. We had a black and white negative, so the picture is also black and white. If your negative or slide is colored, it would be a color picture.