How to scan a document on a smartphone
Updated: 12/05/2021 by Computer Hope

There are a couple ways to scan a document on a smartphone. You can take a picture, but the image is often skewed slightly and doesn't look good. For a better method of scanning a document on a smartphone, select your type of smartphone below and follow the instructions.
Scanning a document on an Android smartphone
The instructions below are similar for each Android device, but may vary slightly with different devices.
- Open the Google Drive app.

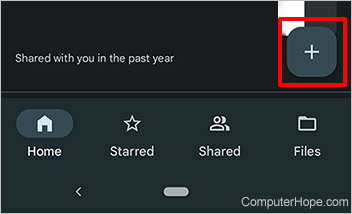
- Depending on your phone, tap either Add or the + (plus) sign near the lower-right corner of the screen.
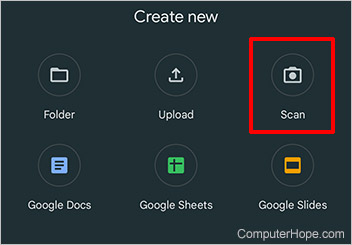
- Tap Scan.
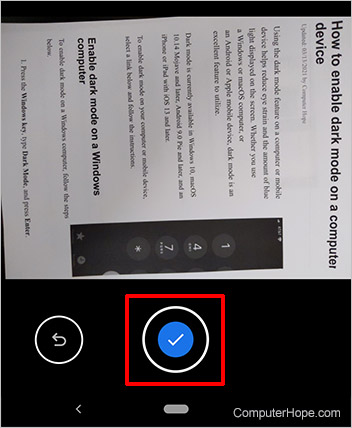
- Hover your phone over the document, and get the entire page of the document in view on the phone's screen. You might have to move the phone up and down to get the whole document in the screen. The best method is to get directly above the paper, as level as you can get your phone. Once you have the entire document in view, tap the shutter or capture button as if you're taking a picture.
- When you get the image how you want it, tap the checkmark on the screen.
- If your document is only one page, you can tap Save at this point. Then, skip to step 10.
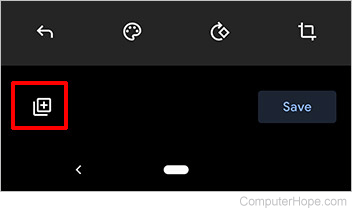
- If your document has multiple pages, tap the + (plus) icon to add more pages to the document.
- Repeat steps 4 & 5 above for however many pages you must add.
- When you are done scanning all pages of the document, tap Save.
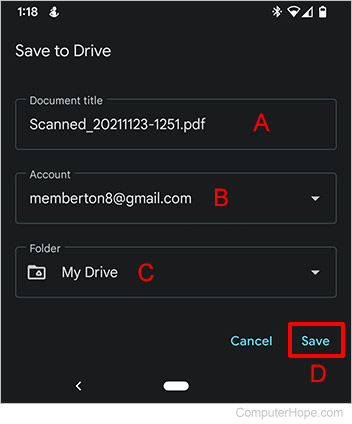
- Under Document title (A), erase the current scan title in the box, and type a new title for the document.
- Under Account (B), you only need to change this if the e-mail address for your Google account isn't showing.
- Under Folder (C), choose the folder where you want to save the document. Android defaults to My Drive, or you can select another folder.
- Tap Save (D).
Scanning a document on an iPhone
The instructions below walk you through how to scan a document on an iPhone.
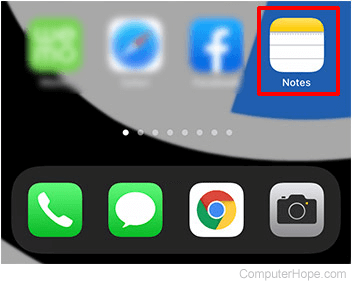
- Tap and hold your finger on the Notes app.
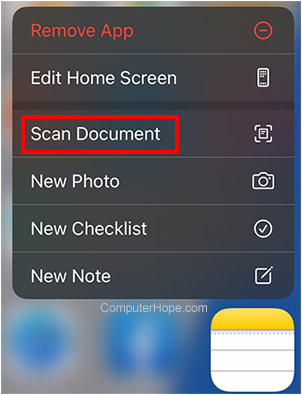
- In pop-up menu, tap the Scan Document option.
- Hover your phone over the document, and get the entire page of the document in view on the phone's screen. You might have to move the phone up and down to get the whole document in the screen. The best method is to get directly above the paper, as level as you can get your phone. Once you have the entire document in view, tap the shutter or capture button as if you're taking a picture.
- Use the crop tool to outline the document, so it looks how you want.
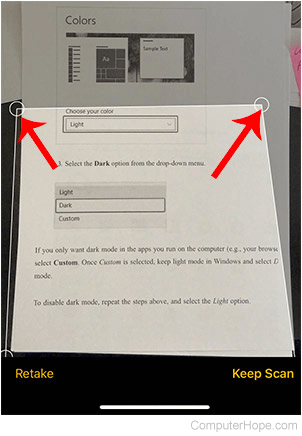
- Tap Keep Scan.

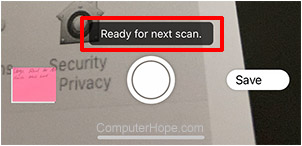
- If your document is only one page, you can tap Save at this point. Then, skip to step 10.
- If your document is multiple pages, tap Ready for next scan to add more pages to the document.
- Repeat steps 3-5 for each page you must add.
- When you are done scanning all pages of the document, tap Save. The document is automatically saved in the Notes folder.
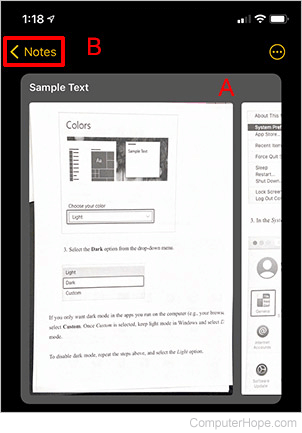
- On the Sample Text page, tap and scroll the image to ensure all pages are in your document (A).
- Tap Notes (B) at the top-left of the screen to go back to the Notes folder.