
How to use the Eraser Tool in Photoshop

Adobe Photoshop is a powerful editing program with many features, including the Eraser Tool. It has three different modes and many applications, such as removing an object from a picture. The following sections contain details on each of the three modes of the Eraser Tool and an example of them in action. To proceed, choose an option from the list below or read through all sections to find what works best for your project.
Eraser Tool
The first option is the default setting, called Eraser Tool. It changes pixels to the background color or makes them transparent based on the image's file type or settings. The Eraser Tool is most effective at removing large areas. However, it doesn't distinguish between the background and the main image; wherever you click, it erases that portion regardless of its content.

By default, the Eraser Tool is set to the Photoshop background color, rather than transparency. So, if your background is white, it erases the image to white. The same result follows for any other background color.
As shown below, we used the Eraser Tool at 84 pixels wide to remove part of the image between the clock and the mug. You can see that it erased part of the clock, the mug, and the background.

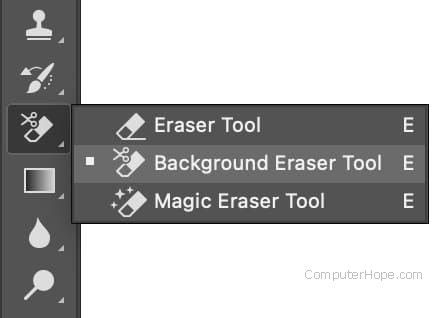
Background Eraser Tool
The Background Eraser Tool removes the pixels of a sampled color, leaving the area behind it transparent. For instance, if you click in an area with one color and drag the mouse, only that color would be erased, leaving objects of different colors intact (ideally).
In the image below, we selected the Background Eraser Tool (size 84 pixels) and clicked once between the clock and the mug, creating a transparent background section. As you can imagine, this tool usually isn't perfect because it doesn't actually know anything about the background. It cannot differentiate between an object and the background, only their color differences. Consequently, you may need to adjust the tool's tolerance and try a few times to get the result you want.

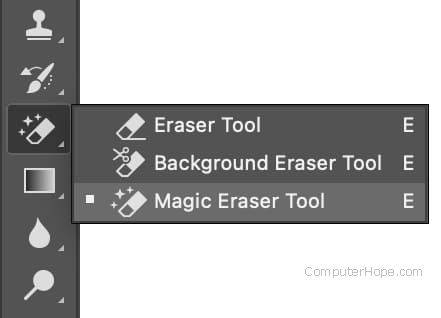
Magic Eraser Tool
The third option is the Magic Eraser Tool. It removes similarly-colored areas with a single click, turning them transparent in the process. It is arguably the best tool for erasing the background of a photo. However, it is not perfect.
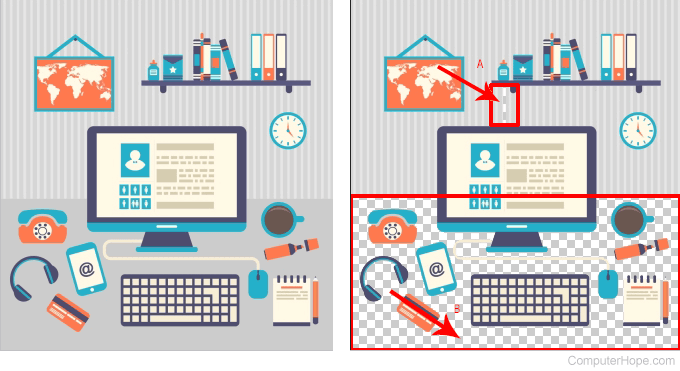
Sometimes, the Magic Eraser Tool eliminates more or less of the area surrounding an object than users have in mind. For example, if there are many objects in the background, (e.g., different colored lines), Photoshop cannot always "tell" that they are considered part of the background. So, you might need to adjust the tolerance setting for the tool or click several times to erase the desired portion of the image.
Reviewing the picture below, you can see how the magic eraser works. First, we clicked a single gray line above the monitor with the Magic Eraser Tool selected (A). Then, click the gray section below the monitor (B). Notice how all the area that used to be gray is now transparent (denoted by the checkered pattern) while the foreground remains unchanged.
Example of using all three tools
Below is a short clip about using all three tools in one picture to remove its background.