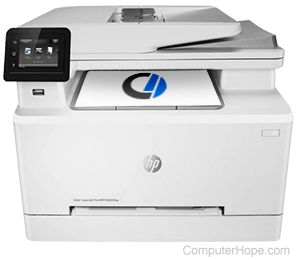
How to set up a wireless printer

A wireless printer makes it possible for you to print documents, photos, and labels from a smartphone, tablet, or wireless laptop. You do not need to connect your computing device to a wireless printer with a cable to print something.
The following are general steps for setting up a wireless printer. Since there are many different printer manufacturers, they all vary slightly with the initial setup. Please consult your owner's manual for assistance.
Initial setup of the printer
- Unpack the printer.
- Plug the power cord into the printer (if it doesn't come built-in) and the wall outlet.
Some wireless printers may come with extra cables to use in case Wi-Fi is unavailable. While it is a good idea to keep these cables, they might not be necessary for the wireless setup, depending on the printer.
- Remove any protective padding and plastic coverings from around the printer.
- Turn on the printer, and allow a few minutes for it to warm up and initialize.
- On the printer's LCD (liquid-crystal display) screen, choose the language and country location of the printer, if prompted.
- Tap the home icon. Locate the Settings menu, and then locate the Wireless Settings or Wi-Fi Settings section.
- Find your home or company network and connect to it.
- To get drivers for the printer, visit the manufacturer's website. Search for the printer's model number and download the drivers and any related software. The drivers include setup instructions for your new printer. Follow the on-screen instructions.
If you're using a Wi-Fi extender, and the software isn't finding your printer, try connecting the printer to the primary SSID (service set identifier). For example, if your Wi-Fi extender SSID is Home2, and your primary SSID is Home, use Home instead of Home2.
- Print a test page to verify the printer is working correctly.
