How to add or change a Windows 11 account picture
Updated: 12/05/2021 by Computer Hope

Windows 11 provides its users with a high level of personalization. One of these features is the ability to add or change an account picture. To add or change your account picture in Windows 11, follow the steps below.
Add or change an account picture
- Click Start to open the Start menu.
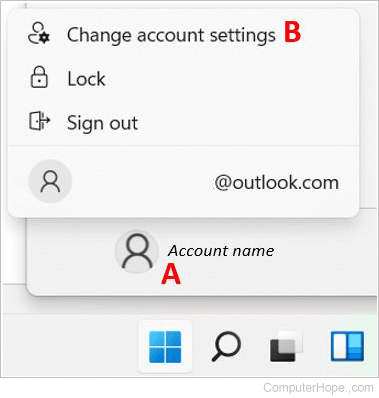
- In the Start menu, click the account name and default picture (A) at the bottom-left corner, and select the Change account settings (B) option.
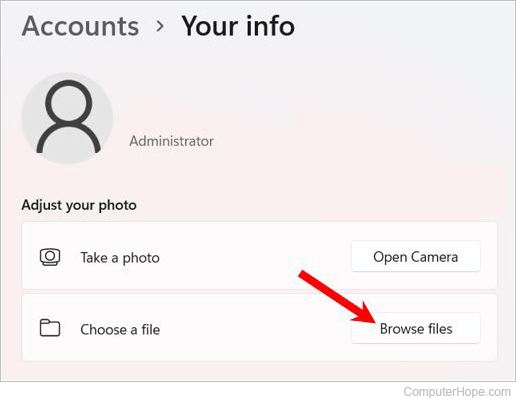
- In the Accounts window that opens, click the Browse files button.
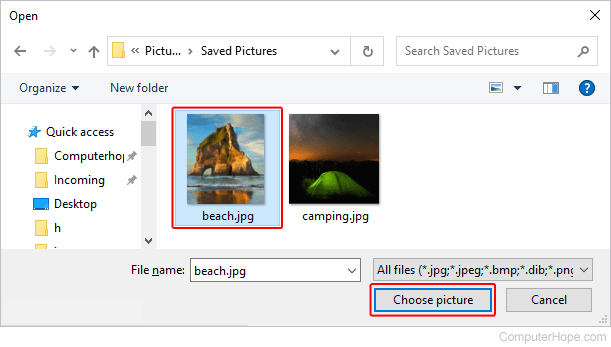
- Find and select the picture on you want to use for your account, and then click the Choose picture button.