
Create a new Send to shortcut
The Send to is a feature that enables users to send programs to an alternate location. An example of the send to feature is right-clicking a file and clicking send to and then the floppy disk drive. Users can create their send to destinations by following the steps below.
Creating a Send to in Windows Vista, 7, 8, and 10
Open Windows Explorer and create a shortcut to the program you want to have in the below SendTo directory.
C:\Users\<user>\AppData\Roaming\Microsoft\Windows\SendTo
To see the SendTo folder, you must have show hidden files enabled. For help with enabling hidden files, see: How to view hidden files and folders in Windows.
The <user> is the name of the user logging into the computer.
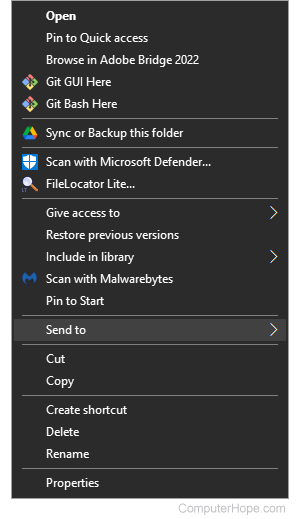
Once the steps above are completed, the new shortcut appears when you right-click any file and select the Send to option.
To see other Send to options, see: View more Send to options in Windows.
Creating a Send to in Windows XP
To see the SendTo folder, you must have show hidden files enabled. For help with enabling hidden files, see: How to view hidden files and folders in Windows.
Open Windows Explorer and create a shortcut to the program you want to have in the below SendTo directory.
C:\Documents and Settings\<username>\SendTo
The <username> is the name of the user logging into the computer.
Once the above steps are completed, the new shortcut appears when you right-click any file and select the Send to option.
Creating a Send to in Windows 95, 98, and Me
Create a shortcut in the windows\sendto directory.
Once the steps above are completed, the new shortcut appears when you right-click any file and choose the Send to option.