
How to make a Discord server public or private

After creating a Discord server, you have a lot of options for things to do, such as creating channels or inviting new members. One choice you may want to make is if your Discord server is public or private. The difference between the two options is that anyone can join a public server, whereas private ones are invite only.
To learn how to make your Discord server public or private, select from the list below and follow the instructions.
To change the privacy status of a Discord server, you must be the owner. Having administrator rights is not sufficient.
How to make a Discord server public
Here, we show you how to make your Discord server discoverable by anyone who searches for it or related content. This process is done through the Discord community feature.
How to enable the Discord community feature
To enable discovery for a public server, you must meet multiple requirements.
- Navigate to the Discord website.
- Click the Open Discord in your browser button.
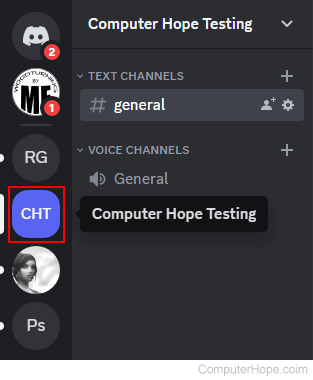
- On the left side, select the server where you want to enable the community feature.
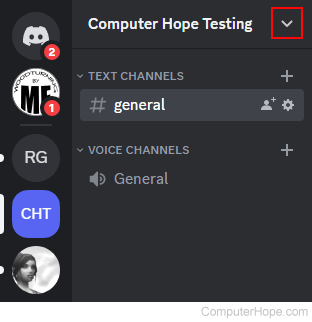
- Click the server options icon next to the server name.
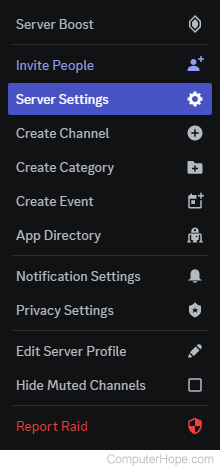
- Select Server Settings from the drop-down menu.
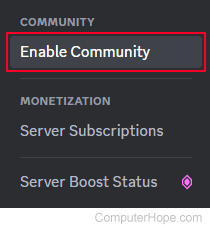
- In the menu on the left side of the screen, click the Enable Community selector.
- In the middle of the screen on the right, click
 .
. - You are directed through a two-step prompt. Select your preferred options on each, then click the Next button.
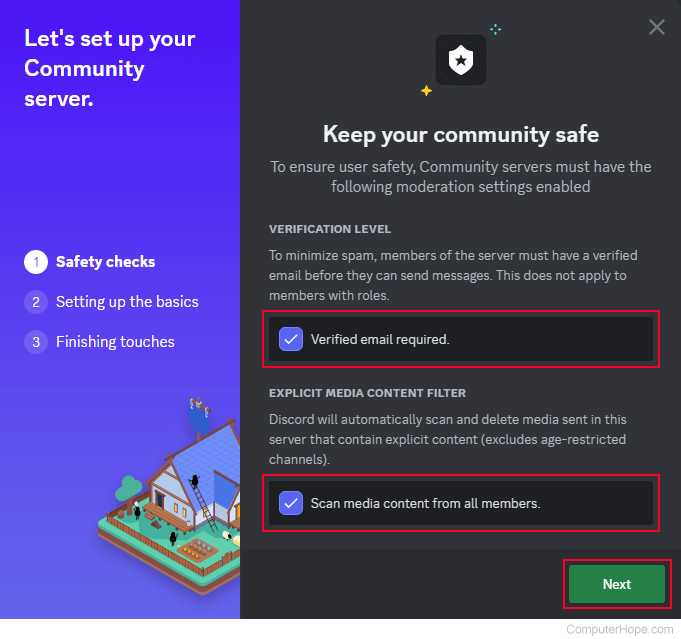
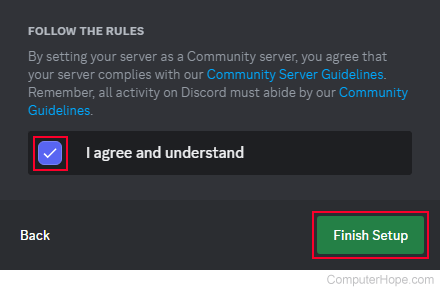
- Check the box to agree to the terms and click the Finish Setup button.
- On the left side of the Server Settings screen, under Community, click the Discovery selector.
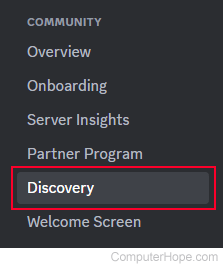
- Ensure that you've met all the public Discord server requirements.

- In the middle of the screen, click the Set Up Discovery button.
How to disable the Discord community feature
- Navigate to the Discord website.
- Click the Open Discord in your browser button.
- On the left side, select the server you want to remove the community feature.
- Click the server options icon next to the server name.
- Select Server Settings from the drop-down menu.
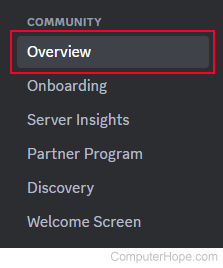
- On the left, under the Community section, click the Overview selector.
- In the middle section, scroll down and click
 .
. - Click the Save Changes button at the bottom of the screen.

How to make a Discord server private
The steps below show you how to set a Discord server as private, effectively making it invite-only.
- Navigate to the Discord website.
- Click the Open Discord in your browser button.
- On the left side, select the server you want to make private.
- Click the server options icon next to the server name.
- Select Server Settings from the drop-down menu.
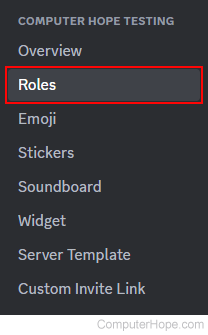
- On the left side of the screen, select Roles.
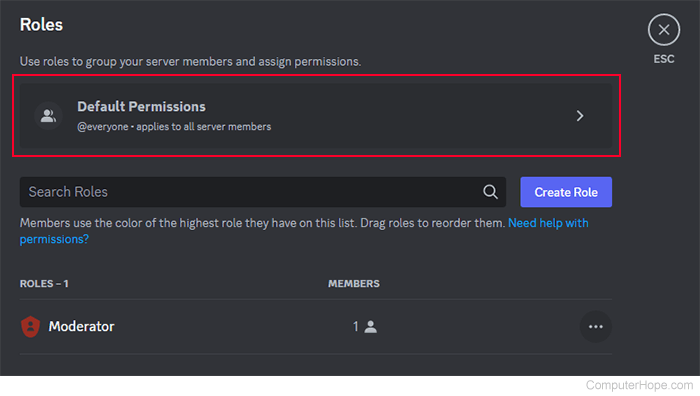
- On the right side of the screen, click Default Permissions.
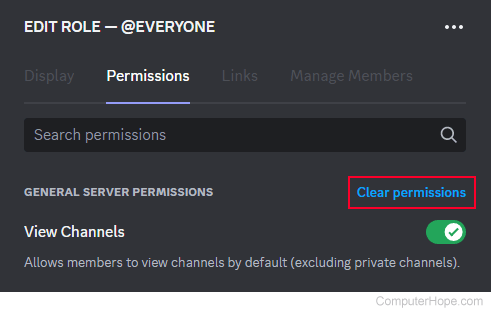
- Next to General Server Permissions, click Clear permissions.
- Click the Save Changes button at the bottom of the screen.
Now, only those invited by you (or authorized users) may join your server.