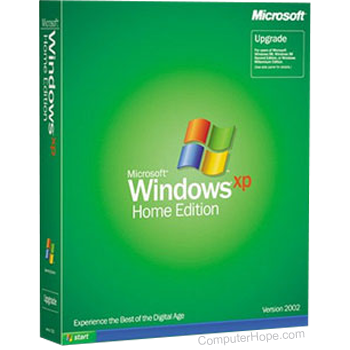
How to create a copy of the Windows XP Recovery Console

At one point in time, Microsoft made a set of boot disks that could be downloaded and used to access the Windows XP Recovery Console. However, most computers today do not even have a CD-ROM (compact disc read-only memory) drive, let alone the ability to receive or read floppy disks.
Therefore, we created this page, which includes steps to make a bootable USB drive containing the Windows XP Recovery Console. It is useful if you need to run this utility on a computer that doesn't have a CD-ROM drive. That said, you need access to a computer with a disc drive to create the bootable Windows XP USB in the first place.
If the computer doesn't need a CD-ROM and you have an older computer with a CD-ROM drive, use it to create the bootable USB drive.
How to create a bootable USB drive for Recovery Console
To create the USB version of the Recovery Console, you need a valid Windows XP installation disc.
- Connect an empty USB drive to your computer. If you need help formatting the drive, see the instructions on the following page.
- Open File Explorer and locate the Recovery Console files; they are in the "i386" folder on the Windows XP installation disc. Copy the entire "i386" folder to the USB drive.
- Insert the USB drive in the computer where you want to utilize the Recovery Console. Restart the computer and set it to boot from the USB drive.
- Once the computer boots from the USB drive, you should be able to access the Windows XP Recovery Console.
