
How to securely delete files with SDelete
When you delete a file in Windows, that space on your disk is marked as "free," making it available for other files to use. However, the data you deleted may still exist on the disk, because it was not overwritten. Even if your files are encrypted by your file system, forensic tools can still bypass the operating system and access the deleted data.
If you have sensitive data to delete, and you want to ensure that it can never be recovered, use the free Windows program SDelete.
What is SDelete?
SDelete is a tool that irrecoverably deletes files, conforming to U.S. DoD (Department of Defense) standard DoD 5220.22-M for the handling of classified information.
How does it work?
In addition to marking the space free on disk, SDelete repeatedly overwrites the deleted data with random characters. This type of overwriting ensures that the data does not linger on the storage medium. In traditional media like a hard disk drive, a magnetic "ghost" of deleted data may be recovered using special data recovery tools. So, when you delete a file or empty your Recycle Bin, that data could still be read by someone else. For example, a malicious third-party or a security expert who has physical access to your computer could recover the deleted data. Using SDelete makes this type of recovery impossible.
Downloading SDelete
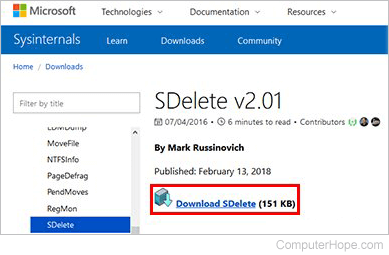
SDelete is a free download available on the Microsoft SDelete page.
Installing SDelete
SDelete does not have a traditional installer. Instead, the zip file contains two executable files, sdelete.exe (for 32-bit versions of Windows) and sdelete64.exe (for 64-bit versions). Most modern computers are 64-bit, so if you're unsure, use sdelete64.exe.
You don't need to "install" SDelete. Double-click the zip file, and drag-and-drop one of the exe files to the place on your computer where you want to use it. Then, open a Windows Command Prompt window, change to that directory, and run it there. If you're comfortable doing this, skip to the next section.
To use SDelete everywhere, create a directory for it, put the exe file there, and add that directory to your PATH environment variable. Setting the path to the SDelete directory lets you use SDelete anywhere, regardless of your current directory.
These instructions are for Windows 10, but also work in Windows 7 or Windows 8, with a few differences. For instance, instead of This PC, in earlier versions of Windows, click My Computer.
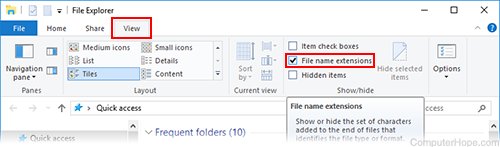
In the examples below, file name extensions are shown. For instance, in our screenshots below, the SDelete executable file is displayed as sdelete64.exe, but your computer might hide the extension .exe. In Windows 10, to see file name extensions, click the View tab in File Explorer, and check the File name extensions box.
To install SDelete to a dedicated folder on your computer and add it to your PATH, follow the instructions below.
- Open a File Explorer window by pressing Windows key+E.
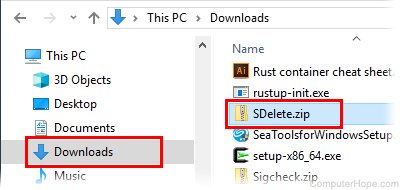
- Go to the folder where you downloaded the zip file. For instance, if it's in your Downloads folder, click Downloads in the Quick Access list on the left. Then, double-click the file, SDelete.zip.
- Then, open another File Explorer window by pressing Windows key+E again. Move and resize the windows to see both windows on your screen. In the second Explorer window, locate your Program Files folder. Select This PC on the left, then on the right, double-click C:, then Program Files.
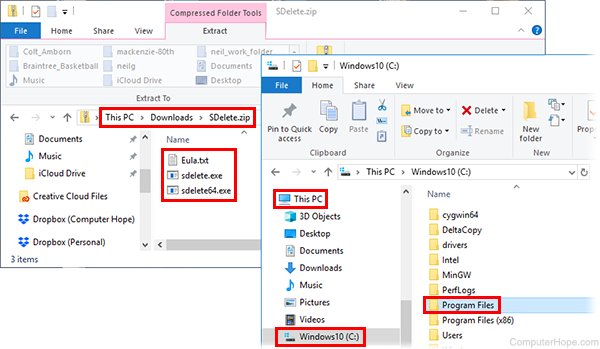
You have two Program Files folders. One is called Program Files (x86). The "x86" folder is for 32-bit programs. It doesn't matter which folder you use, but for 64-bit computers, we recommend you install SDelete in Program Files.
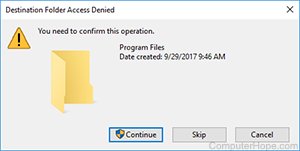
- In your Program Files folder, create a new folder by clicking the New Folder button, or pressing Ctrl+Shift+N on your keyboard.

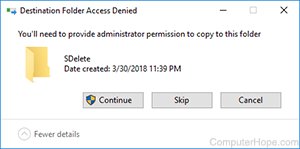
- Creating a new folder in your Program Files folder requires confirmation. To confirm that you want to create the folder, click Continue.
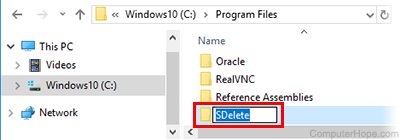
- Name your new folder SDelete. If you accidentally clicked away from the folder, scroll to the folder named New Folder, clicking it once to select it, and pressing F2 on your keyboard.
- In your first Explorer window that shows the contents of SDelete.zip, drag the file SDelete64.exe into the other Explorer window, which has your new SDelete folder open. Drop it there to copy the file.
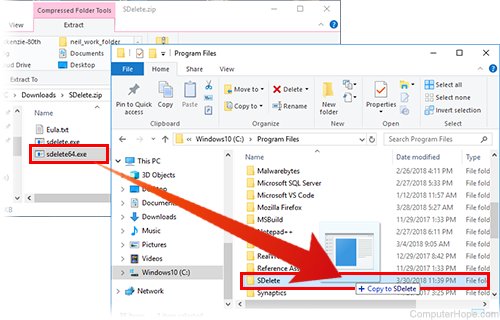
- Click Continue to confirm that you want to copy the file here.
The file sdelete64.exe now exists on your computer in the directory C:\Program Files\SDelete\. Next, add this directory to your PATH environment variable to run this program from any other directory.
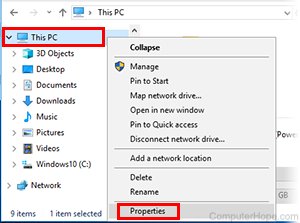
- In a File Explorer, right-click This PC, and choose Properties.
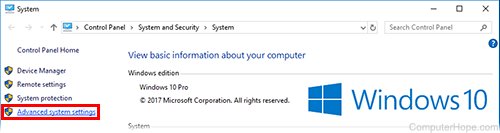
- In the System window, click Advanced System Settings.
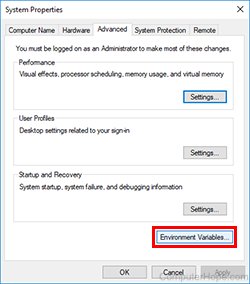
- In the System Properties window, click Environment variables.
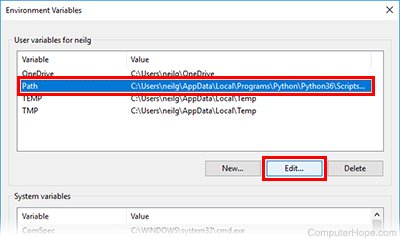
- The Environment Variables window opens. Under User variables, select the Path line, then click Edit.
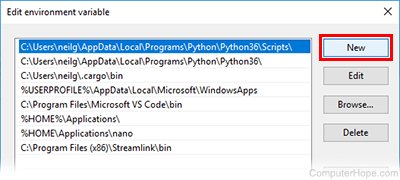
- In the Edit environment variable window, click New.
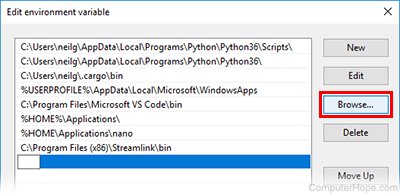
- Click Browse.
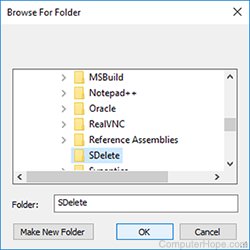
- Browse to your SDelete folder. Expand This PC, C:, Program Files, then select SDelete.
- Click OK three times to close all open windows and save your changes.
Run sdelete64 at the Command Prompt, regardless of your current directory.
Next, we look at how to use sdelete64 to securely delete files.
Using SDelete from the command line
Like many system commands, SDelete is designed to be used from the Windows command line. The following steps describe how to open a Windows Command Prompt and run SDelete commands.
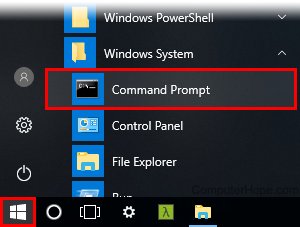
- Open the Start menu. Open Windows System, and click Command Prompt.
- Change to the directory which contains the file you want to delete. For instance, in this example, we're deleting a file called back.png, which is in a folder on our desktop, in a folder called Personal check. Right now, our current directory is our home directory, C:\Users\username\. So, run cd desktop to change to the desktop directory, then cd "Personal check" to change to the "Personal check" directory. We use quotation marks to preserve the space in "Personal check."
cd desktop
cd "Personal check"
![]()
- To view the files in the current directory, run the dir command.
dir
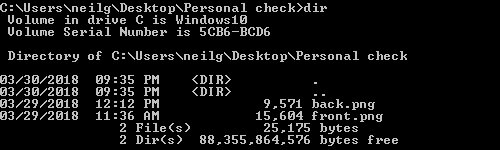
- The file to delete is back.jpg, a photograph of the back of a canceled check. To securely delete it, run the command sdelete64 /p 5 back.png.
sdelete64 /p 5 back.png

Here, sdelete64 is the name of the exe file. /p 5 is an option that tells SDelete to make 5 passes over the data, writing random characters over our data five times. This number can be any number you want. For example, 1 pass is perfectly fine, and 3 is considered secure.
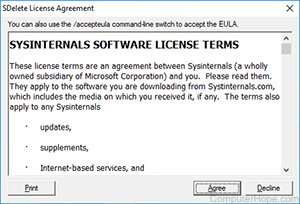
- If this is your first time running SDelete, you're asked to accept the license terms. Read the terms, then click Agree to accept and run the program.
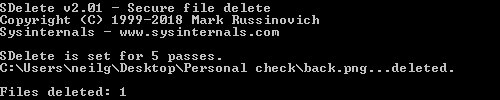
- After you click Agree, the command runs, and your file is securely deleted.
Is it possible to use SDelete on an entire directory?
SDelete has an option, /s (or /r), which is supposed to delete an entire directory and everything it contains, including sub-directories. As of 2023, however, this function does not work correctly, a known bug in the program. The prevailing conclusion is that Microsoft does not want this function to work properly, and has never gotten around to fixing it. In any case, until this bug is fixed, it is not possible to recursively delete directories with SDelete.
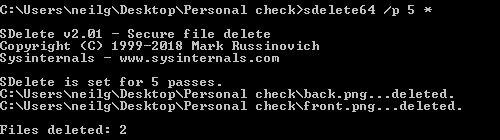
However, wildcards still work to delete every file in a single directory using an asterisk ("*") for the file name. For example, in the command above, only one file was deleted. Instead, running sdelete64 /p 5 * deletes both files in one command.
sdelete64 /p 5 *
A note about file names
Although SDelete removes the data stored in your files, it does not overwrite the file names. So, be aware that although a third-party cannot view the data removed with SDelete, the file names may still be recoverable from a low-level analysis your file system.