
How to remove or change an image background in Photoshop
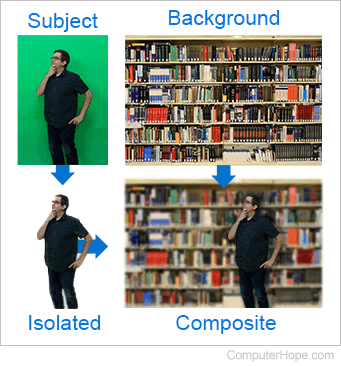
Adobe Photoshop is a powerful tool for manipulating images in various ways. A common edit made to photos is the removal or substitution of a background. This change isolates the subject of the image to incorporate it into a larger project or sets it against a better background.
The following sections show you how to select the foreground and remove or swap the background of an image using Photoshop.
Creating a selection
Before removing your background, you must first define the subject of your image using selection tools. There are several ways to select objects in Photoshop, each offering advantages in different situations. The following is a review of each tool and how it is used to select objects.
Magic Wand Tool
The Magic Wand Tool automatically chooses regions of an image based on a target color or range of colors. It works best when the image background or foreground is a single color or there's a lot of contrast between the two.
To use the Magic Wand Tool:
- In the toolbar on the left side of the screen, press and hold the left mouse button on the Quick Selection tool to reveal additional options.
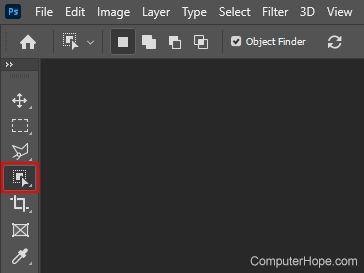
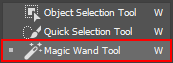
- In the pop-up menu, select the Magic Wand Tool
 .
.
- In the Tool Properties panel at the top of the screen, adjust the Tolerance to define how closely the color needs to match.
- Click the area of color you want to select in your image.
You can make the selected area larger or smaller by pressing Shift or Ctrl respectively, while clicking different parts of the image.
Quick Selection Tool
The Quick Selection Tool automatically predicts what you are attempting to select based on color and contrast.
To use the quick selection tool:
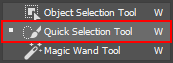
- In the toolbar on the left side of the screen, press and hold the left mouse button on the Object Selection Tool to reveal additional options.
- In the pop-up menu, choose the Quick Selection Tool
 .
.
- Adjust your brush size using the square bracket keys [ ].
- Click and drag your cursor around the edges of your subject.
- Fill in your selection by dragging your brush around in the confines of the subject.
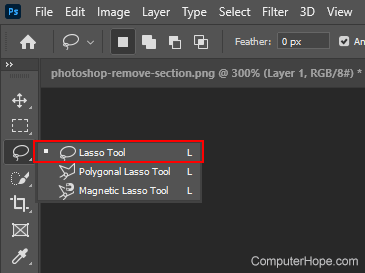
Lasso Tool
The Lasso Tool is a manual selection utility for more intricate work. It creates a closed shape by connecting the starting and ending points of a line you draw manually.
To use the Lasso Tool:
- On the left toolbar, click the left mouse button and hold it down over the Lasso Tool
 icon.
icon. - In the pop-up menu, choose the Lasso Tool.
- Zoom in on your image to the desired area by pressing and holding Ctrl and using the + and -. Alternatively, you may use the scroll wheel.
- Begin your selection by clicking and dragging with the mouse.
- Draw your line until it encloses the subject.
- Once your object is selected, close your shape by releasing the mouse button.
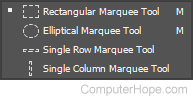
Marquee Tool
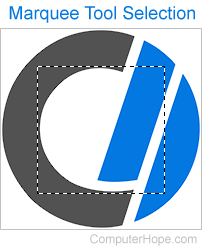
The Marquee Tool is used for selecting geometrical shapes in your image.
To use the Marquee Tool:
- On the left toolbar, click the left mouse button and hold it down over the Marquee Tool
 icon.
icon. - Choose a shape from the pop-up menu.
- Once your desired shape is chosen, position your mouse in the corner of your desired selection.
- Click and drag your mouse to the opposite corner.
- Release the mouse button to complete the selection.
Refining your selection
Once your object is selected, you may refine the selection to ensure that you are deleting the correct part of the image. These options require you to use one of the tools above in the toolbar.
- If you selected the foreground, invert your selection by right-clicking inside your selection, and then choosing Select Inverse from the menu.
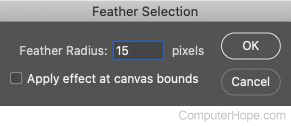
- Feather your selection to soften the edges of your object. To feather your image, right-click inside your selection and select Feather. Change the Feather Radius value to adjust the edge's softness.
Replacing the background
When you are happy with your selection, you can remove or replace the background.
- Make sure your image is rasterized by right-clicking it on the Layers menu, and then selecting Rasterize Layer.
- Press Delete or Backspace to delete the selected pixels.
- To add another background, drag the image to Photoshop and place it on a layer below the foreground.