
How to build a desktop computer
Building a computer is an enjoyable process if done correctly. It can also be a learning opportunity if you have never built one before. While the exact steps to build or assemble a computer depend on your needs and the components you purchase, the general process is mostly the same. On this page, we walk you through that process, with information and tips to help you on the journey to building a computer.
We only recommend building a desktop computer. A laptop is best purchased prebuilt as it's not only more difficult to assemble, but also harder to get the required hardware components.
Each section below is listed in the order we recommend following to build a computer. If you have never built a computer before, review each section sequentially. If you need help with a specific part of the build process, choose the section under which your questions may fall.
Type of computer to build and parts needed
Before you can build a computer, determine your computing needs. What uses do you have for the computer? Are you playing games, editing pictures or videos, mixing audio, surfing the Internet, creating documents or spreadsheets, checking your e-mail? Knowing what you want to do on a computer helps determine which hardware components you need and the type of computer you build. For example:
- Gaming or graphics computer - Playing games, editing pictures, or creating and editing videos requires a more powerful video card for better graphics processing power. Additionally, a larger hard drive and more memory is often needed.
- Audio editing computer - Creating, editing, and mixing audio usually requires a high-quality sound card. A larger hard drive is helpful, and additional memory can be useful for processing high-quality audio files.
- Document and surfing computer - Everyday tasks such as creating documents and spreadsheets, reading and writing e-mails, and surfing the Internet require a less powerful computer. Your computer doesn't need a powerful video or sound card, a large hard drive, or more RAM for these tasks.
The most important computer components are listed below.
- Computer case
- CPU (processor)
- Hard drive
- Heat sink with fan (for the CPU).
- Keyboard
- RAM (random access memory)
- Monitor, LCD, or another display device.
- Motherboard
- Mouse
- Network card
- Power Supply
- Sound card
- Video card (GPU)
If you don't need a powerful video card, sound card, or network card, many motherboards have those components onboard. In other words, you don't need to purchase them separately as those integrated components are adequate for most users.
For additional capabilities, you can purchase the following optional components:
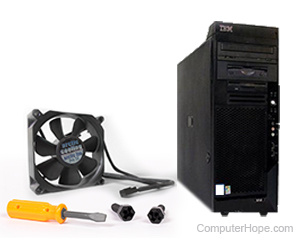
- Case Fan
- Optical drive: Blu-ray, CD-ROM, CD-R, CD-RW, or DVD.
- Microphone
- Printer
- Sound card
- Speakers
To help you figure out what type of computer you need and what hardware components to buy, visit the link below.
After determining the computer parts you need, continue to the next section.
Where to buy computer parts

There are many retailers from which you can buy computer parts, but to ensure you receive quality hardware, purchase from a reputable source. Our top recommendations are the following:
- Amazon.com - An excellent location for purchasing computer hardware and software. Computer Hope is also an Amazon.com affiliate, so if you visit Amazon using this link, you also help support us.
- Newegg - Another excellent source for computer components. They offer a wide variety of hardware and software, many with user reviews.
- TigerDirect.com - Offers a good selection of computer hardware and software online.
Alternatively, websites like PCPartPicker help you find computer parts by filtering through numerous online retailers at once. Using a service like this helps compare prices and specifications more easily.
After ordering and receiving the computer parts, it's time to start building the computer.
Safety measures when building a computer
Before starting to build a computer, there are some preparation and safety measures that we strongly recommend taking.
- While working inside a computer and handling its components, be aware of ESD (electrostatic discharge). Computer components cam be damaged by ESD, causing them to no longer function properly or at all. To help protect against ESD, use an antistatic wrist strap to ground yourself before you handle each component. For more information about ESD and ways to prevent it, view the page linked below.
- Securing computer components in place often requires using screws and a screwdriver. Avoid using a magnetic screwdriver inside a computer. Magnetism, like ESD, can damage a computer.
Install the power supply, motherboard, CPU, and RAM
Now with the parts for your new computer, it's time to start building it.
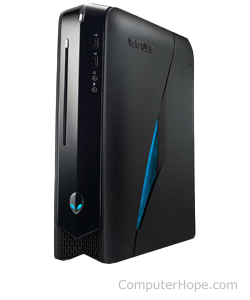
Computer case
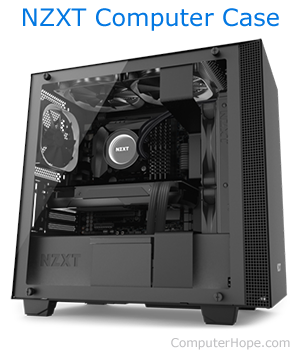
Building a computer starts with the computer case (also called a chassis), which houses most of the components. To begin, remove the side or top panel of the computer case, depending on the type you purchased. Doing so usually requires removing two to four screws from the back of the case. Most modern cases come with thumbscrews that are taken out without tools.
If you're having trouble getting your new case open, visit the link below for further instructions and examples.
Power supply
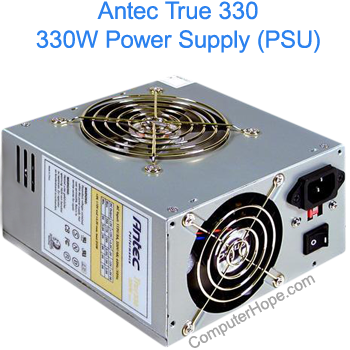
Next, install the power supply in the computer case. Most cases have a spot designed to secure the power supply in place, usually at the top or bottom near the back. The power supply is secured to the case with four screws, with the side having a power cord connection facing the back of the case. Make sure the bottom side of the power supply, which usually has a fan, is facing the inside of the computer case.
CPU (processor)

We recommend installing the CPU, heat sink, and CPU fan on the motherboard next. Some heat sink and fan units require a bracket to secure them to the motherboard. The bracket is placed on the back side of the motherboard, opposite of where the CPU, heat sink, and fan are installed. If you install the motherboard in the computer case first, installing a heat sink and fan that requires one of those special brackets would not be possible. So it's best to install the CPU, heat sink, and CPU fan first.
The CPU fan has a power cable attached to it and needs to be connected to a fan power connector on the motherboard. Check the documentation that came with the motherboard to identify that power connector.
RAM (memory)
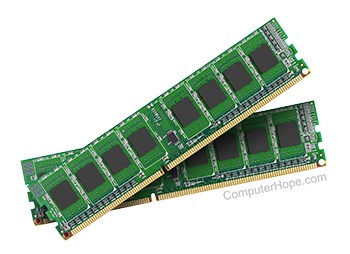
Insert the sticks of RAM in the memory slots on the motherboard. Make sure to line up the notch on the RAM stick with the notch in the memory slot to make sure they seat properly. Each RAM stick fits only one way in a memory slot. Gently push down on each end of the RAM stick until you feel it snap into place. Repeat for each stick of RAM you install.
RAM sticks usually come in pairs. Both RAM sticks need to be installed in the motherboard.
Motherboard
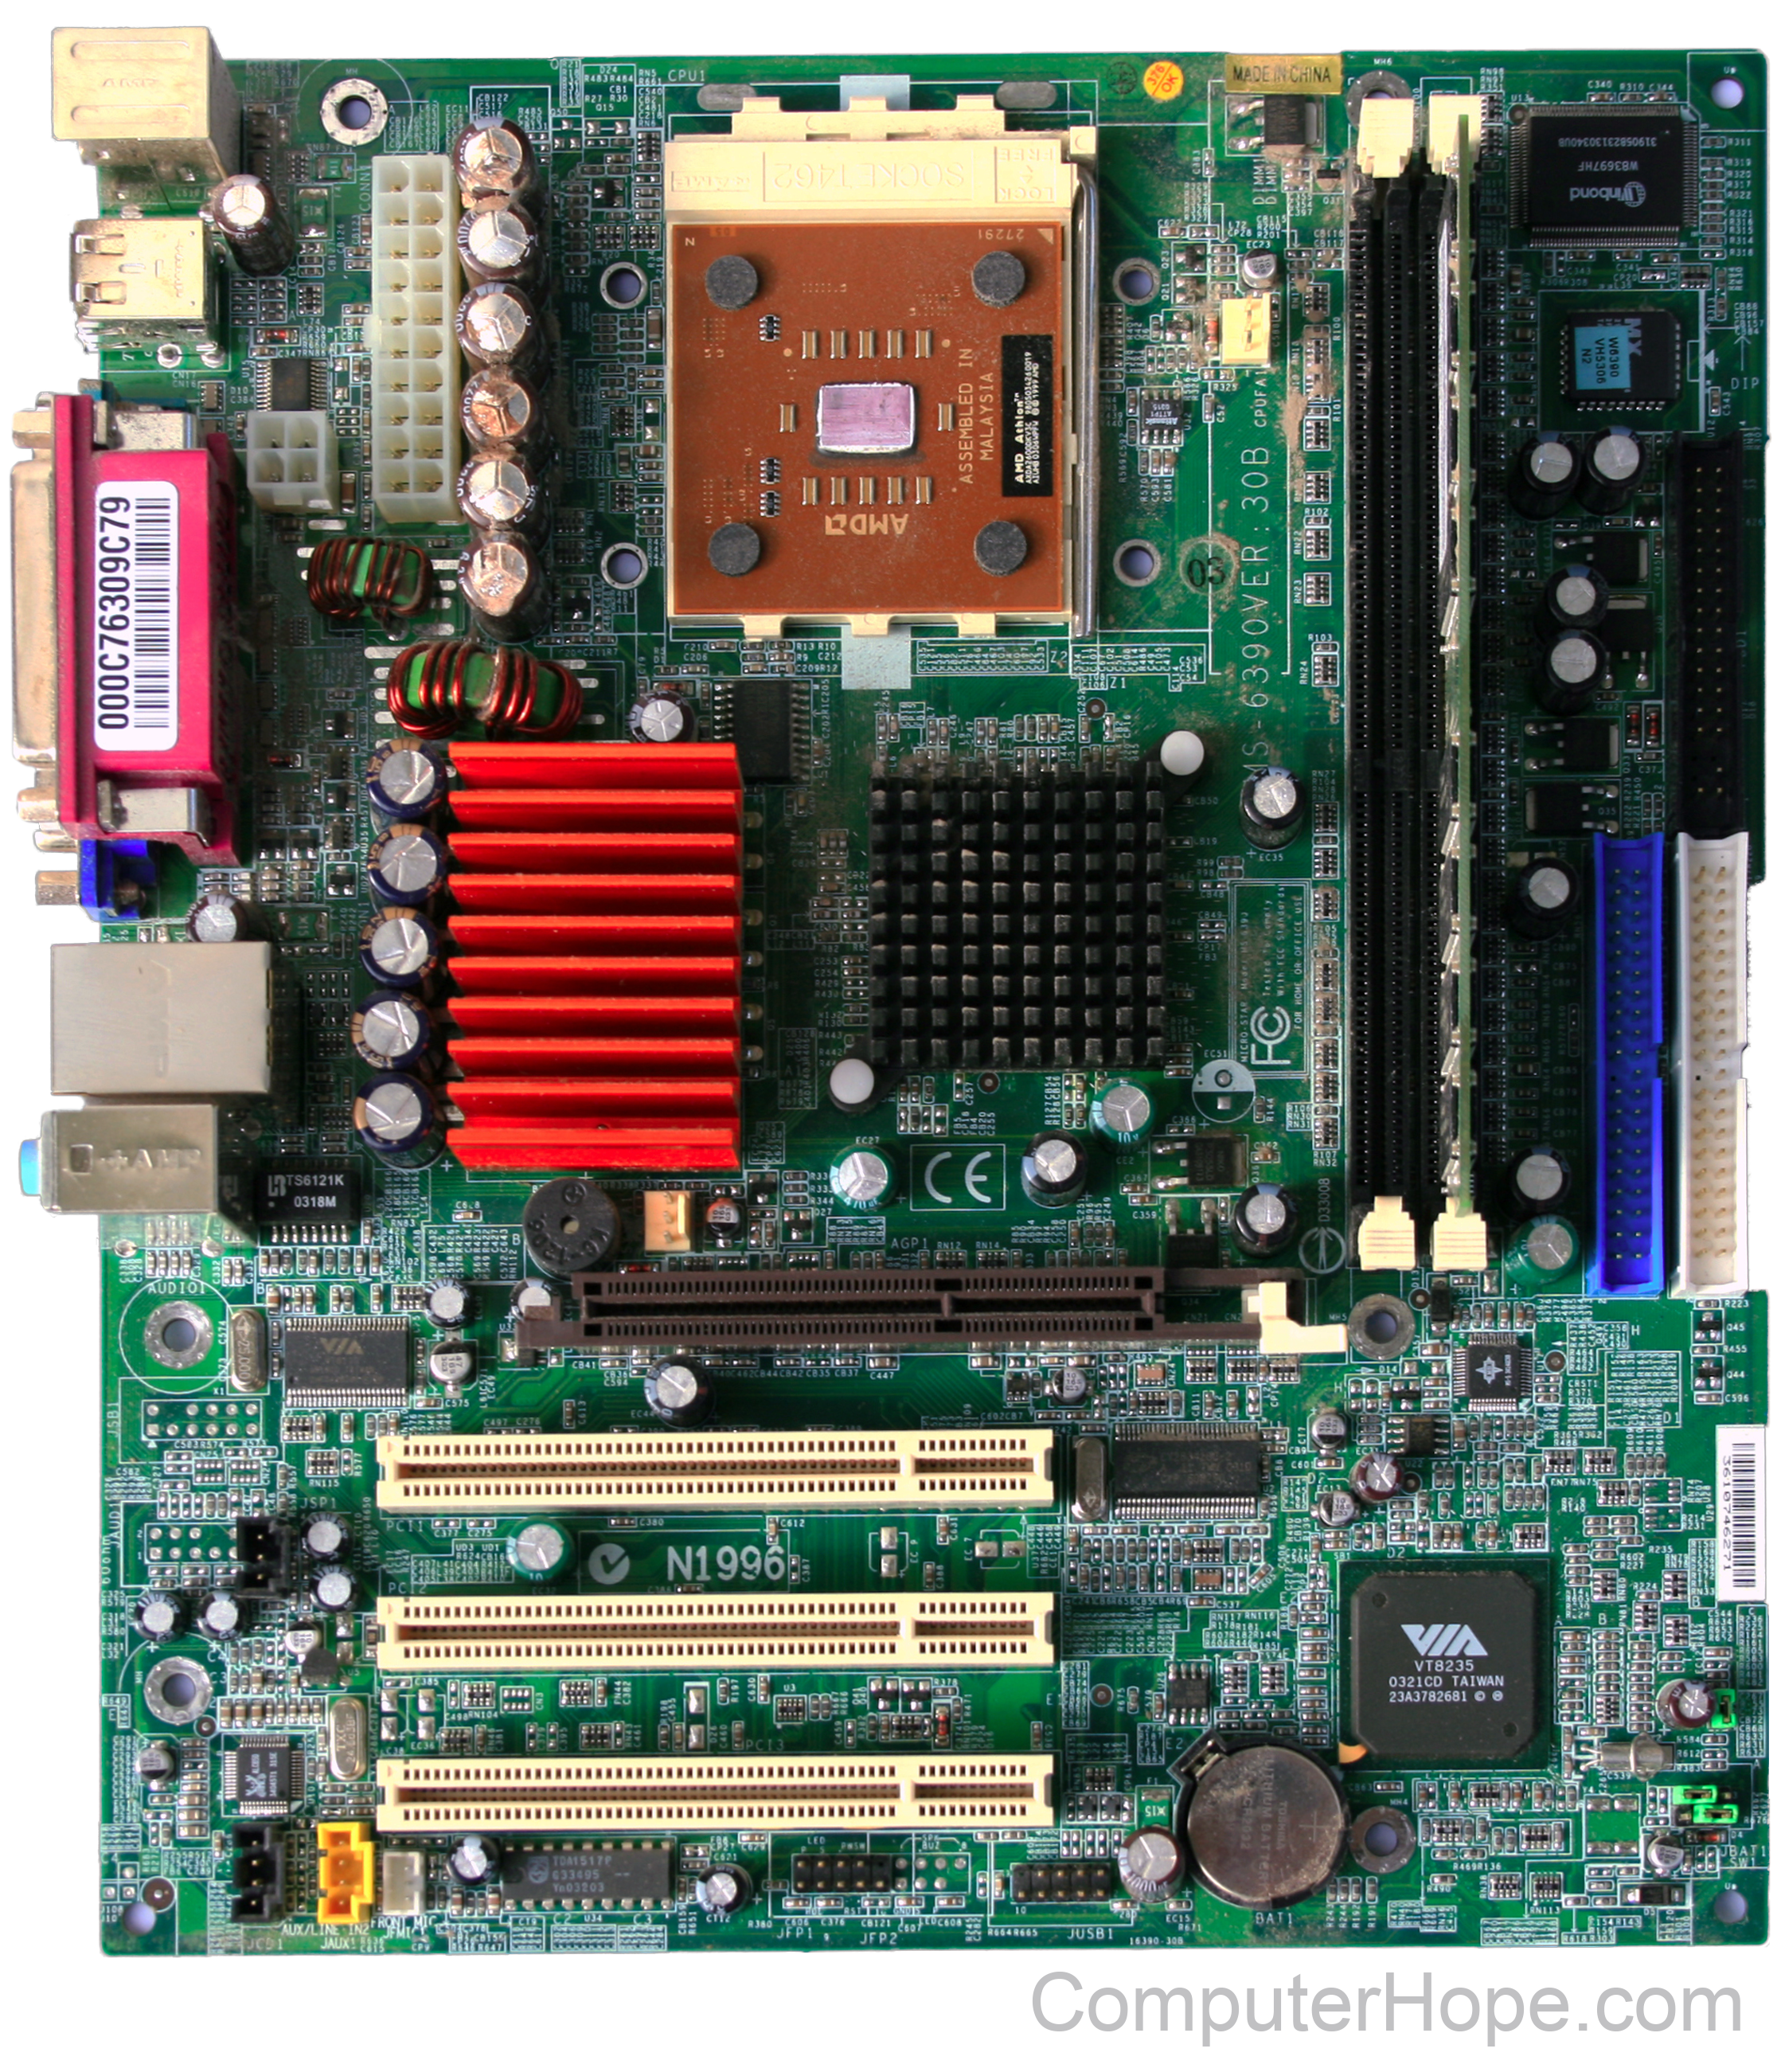
Before installing the motherboard in the case, put standoff screws in the case. The standoff screws add space between the metal computer case and the bottom of the motherboard, to prevent the two from touching and causing an electrical short. The screws used to secure the motherboard to the computer case screw into the standoff screws.
With the standoff screws installed, set the motherboard carefully in the computer case, making sure the screw holes on the motherboard line up with the standoff screws. Then, secure the motherboard in place with the screws that came with the motherboard.
Connect the ATX power connector and cable coming out of the power supply to the ATX power connection on the motherboard. It's a unique style of connector, having a total of 20 or 24 pins in two rows of 10 or 12 pins.
Computers have LED (light-emitting diode) lights, a power button, and sometimes a reset button on the front of the computer case. For those to work, connect the system panel connectors, or Fpanel, to the motherboard. Refer to the motherboard documentation for help on how to do that. The page linked below also has some additional information on installing the system panel connectors.
Install CD/DVD drive and hard drive
Now it's time to install the hard drive in the computer case, and the CD or DVD drive if purchased.
CD and DVD drives in computers are mostly optional today, as most software is available to purchase and download on the Internet. At retail stores, some software is also available on a USB (universal serial bus) flash drive instead of a CD or DVD.
Hard drive
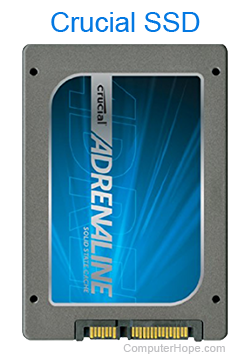
A hard drive is usually installed in a 3.5" expansion bay inside the computer case, usually in the bottom half of the case on the front side. The hard drive is secured in place with two or four screws. If installing an SSD (solid-state drive) drive, you may need to use mounting brackets to make the hard drive fit correctly in the drive bay.
After securing the hard drive in the expansion bay, connect one end of the IDE (integrated drive electronics) ribbon cable or SATA (Serial AT Attachment) cable to the back of the hard drive. Connect the other end to the motherboard IDE or SATA port. Then connect one of the power cables from the power supply to the power connection on the back of the hard drive. Depending on the type of hard drive, you may need to use a Molex or SATA power cable.
CD or DVD drive

A CD-ROM or DVD is installed in a 5.25" expansion bay in the top half of the computer case. The case also needs removable panels at the front of the case for the 5.25" bay, allowing you to access the CD/DVD drive. The drive is secured in place with two or four screws.
Because many computer no longer use disc drives. Not all computers cases have a 5.25" expansion bay. If your computer case does not have an accessible 5.25" expansion bay an internal disc drive cannot be installed.
After securing the CD/DVD drive in the expansion bay, connect one end of the IDE (ribbon) cable or SATA cable to the back of the drive. Connect the other end to the motherboard IDE or SATA port. Then, connect one of the power cables from the power supply to the power connection on the back of the drive. Depending on the type of CD/DVD drive, use a Molex or SATA power cable.
Install video card, sound card, and other parts
If you have any other computer parts to install, including a video card, sound card, network card, or case fan for cooling, you can install those now.
Expansion cards
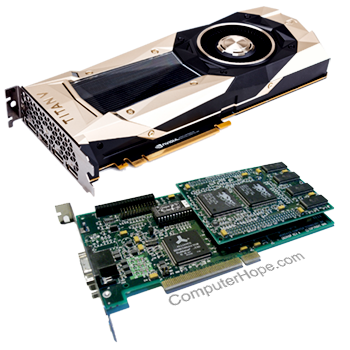
Expansion cards, including video, sound, and network cards, go in a PCI or PCI Express slot on the motherboard. On the back of the computer case, remove one of the metal slot covers that correspond to the motherboard slot where you are installing the expansion card. Then, insert the expansion card in the motherboard slot, gently but firmly pressing down on the card until it clicks or snaps into place. Secure the card's metal bracket to the computer case using a screw.
Some video cards, especially higher-end models like the silver one in the picture, take up the space of two expansion slots. These video cards use two screws to secure them to the computer case.
If your video card requires additional power to function properly, connect one of the power cables from the power supply to the power connection on the video card.
Repeat the process above for each expansion card being installed.
Case fan
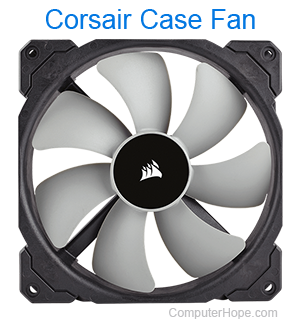
If you purchased a case fan to increase airflow and help add more cooling for the computer, install it now. A case fan attaches to the side or back of the computer case with four screws, and requires a power connection from the power supply.
Some computer cases accommodate more than one case fan. Using a case fan on the side and one on the back of the computer case and helps improve air flow and prevent the computer components from overheating. If your computer case can fit case fans in that configuration, we suggest you consider taking advantage of that and install two case fans.
Other computer parts
If you have any other computer parts to install, do so now. Refer to documentation or online guides on how to install that hardware in your computer.
Connect mouse, keyboard, and monitor
After the computer is built with all the necessary parts, all the external peripherals need to be connected to the computer.
Install the operating system

With all the hardware components installed in the computer case, now you can install the Windows, macOS, or Linux operating system. Turn on the computer and boot to the install CD, DVD, or USB flash drive. An operating system install wizard should start and guide you through the installation.
After the operating system is installed, you are prompted to add or set additional system settings, depending on which operating system you installed. Those settings include the default language, date, time, time zone, and sometimes the keyboard layout. If you select the wrong settings, you can change them later in the operating system.
Install hardware drivers
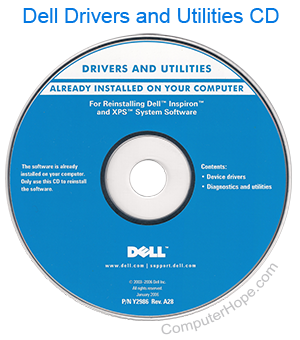
With the operating system installed and configured, the next step is to install drivers for the computer hardware components. Some basic hardware drivers are installed with the operating system, but those drivers may be outdated, and not all drivers are available with the operating system. Some hardware comes with software and driver installation media, and other hardware requires you to download drivers from the manufacturer website.
We recommend downloading the latest drivers from each manufacturer's website and installing those drivers. Any installation media that came with the computer hardware is likely outdated. Installing the latest drivers helps eliminate bugs and improve the computer's overall performance.
To ensure all required drivers are installed, open the Device Manager or System Information utility on your computer. Check for any hardware devices with a yellow question mark or exclamation mark to the left of the device name. If any are found, install drivers for those devices.
With all hardware drivers installed, continue to the last section below to finish building your new computer.
Install any additional software

The last step in building a computer is to install any additional software you want to use on your computer. If you already own or recently purchased new software, install it now.
Your computer build is now complete and ready to use. Enjoy your new computer!